Transforming Soundscapes with Style and Simplicity
Whether you’re a recording artist, a podcaster, or simply someone who enjoys a well-tuned space, the acoustic qualities of a room can make a world of difference. Reverb and reflections can muddy the sound, creating a less-than-ideal environment for critical listening or casual enjoyment. A very reverberant living or dining space can make it difficult to understand casual conversation.
Building your own acoustic panels is a straightforward way to reduce reverb and reflections, while also allowing you to add a personal aesthetic touch. In this blog, we’ll explore the process of building acoustic panels, the science behind them, and how they differ from soundproofing. Plus, we’ll talk about how to incorporate artistic flair into your designs.
Understanding the Basics: Acoustic Treatment vs. Soundproofing
Before diving into the details of building acoustic panels, it’s essential to clarify the difference between acoustic treatment and soundproofing. These terms are often used interchangeably, but they refer to entirely different goals in managing sound.
- Acoustic Treatment: This is all about managing sound within a space. Acoustic panels reduce reflections and control the reverb time in a room, creating a cleaner and more balanced sound. They don’t prevent sound from escaping the room or block external noise from entering.
- Soundproofing: Soundproofing focuses on reducing sound transmission through walls, floors, ceilings, and other boundaries of the space. This involves increasing the transmission loss of the room’s boundaries using dense materials, isolation techniques, and airtight construction.
While acoustic panels enhance the sound quality inside a room, soundproofing is about isolating the room from the outside world. In this blog, we’ll focus solely on acoustic treatment.

Why Acoustic Panels?
In any enclosed space, sound waves bounce off walls, ceilings, and floors, creating reflections that interfere with the direct sound you want to hear. These reflections contribute to reverberation, a lingering sound that can make speech unintelligible, music unclear, and recordings messy. The reverb time of a space is specified by RT60. This is the time it takes for sound to decay 60dB. In a modern studio mixing room, the broadband RT60 might be somewhere between 200 and 500 milliseconds. A small room with hard surfaces might get closer to 1200. A gymnasium, 5000.
Can it be Too Dry?
In my opinion, yes. Tastes ebb and flow on this topic but finding the optimum reverberation time, is somewhat a personal choice. The trend these days is extremely dead acoustics but despite what you may read on facebook, there are no hard and fast rules to this. In my own mixing room, I have an RT60 of about 350-400mS and I really don’t like it any deader than that.
Applications for Acoustic Panels
- Recording studios: To create a controlled environment for mixing and recording.
- Home theaters: For immersive sound without distracting reflections.
- Commercial Office / Restaurant space: To minimize noise distractions and improve speech clarity.
- Living spaces: To create a more pleasant auditory experience.
Materials and Design
One of the simplest and most effective designs for acoustic panels consists of the following components:
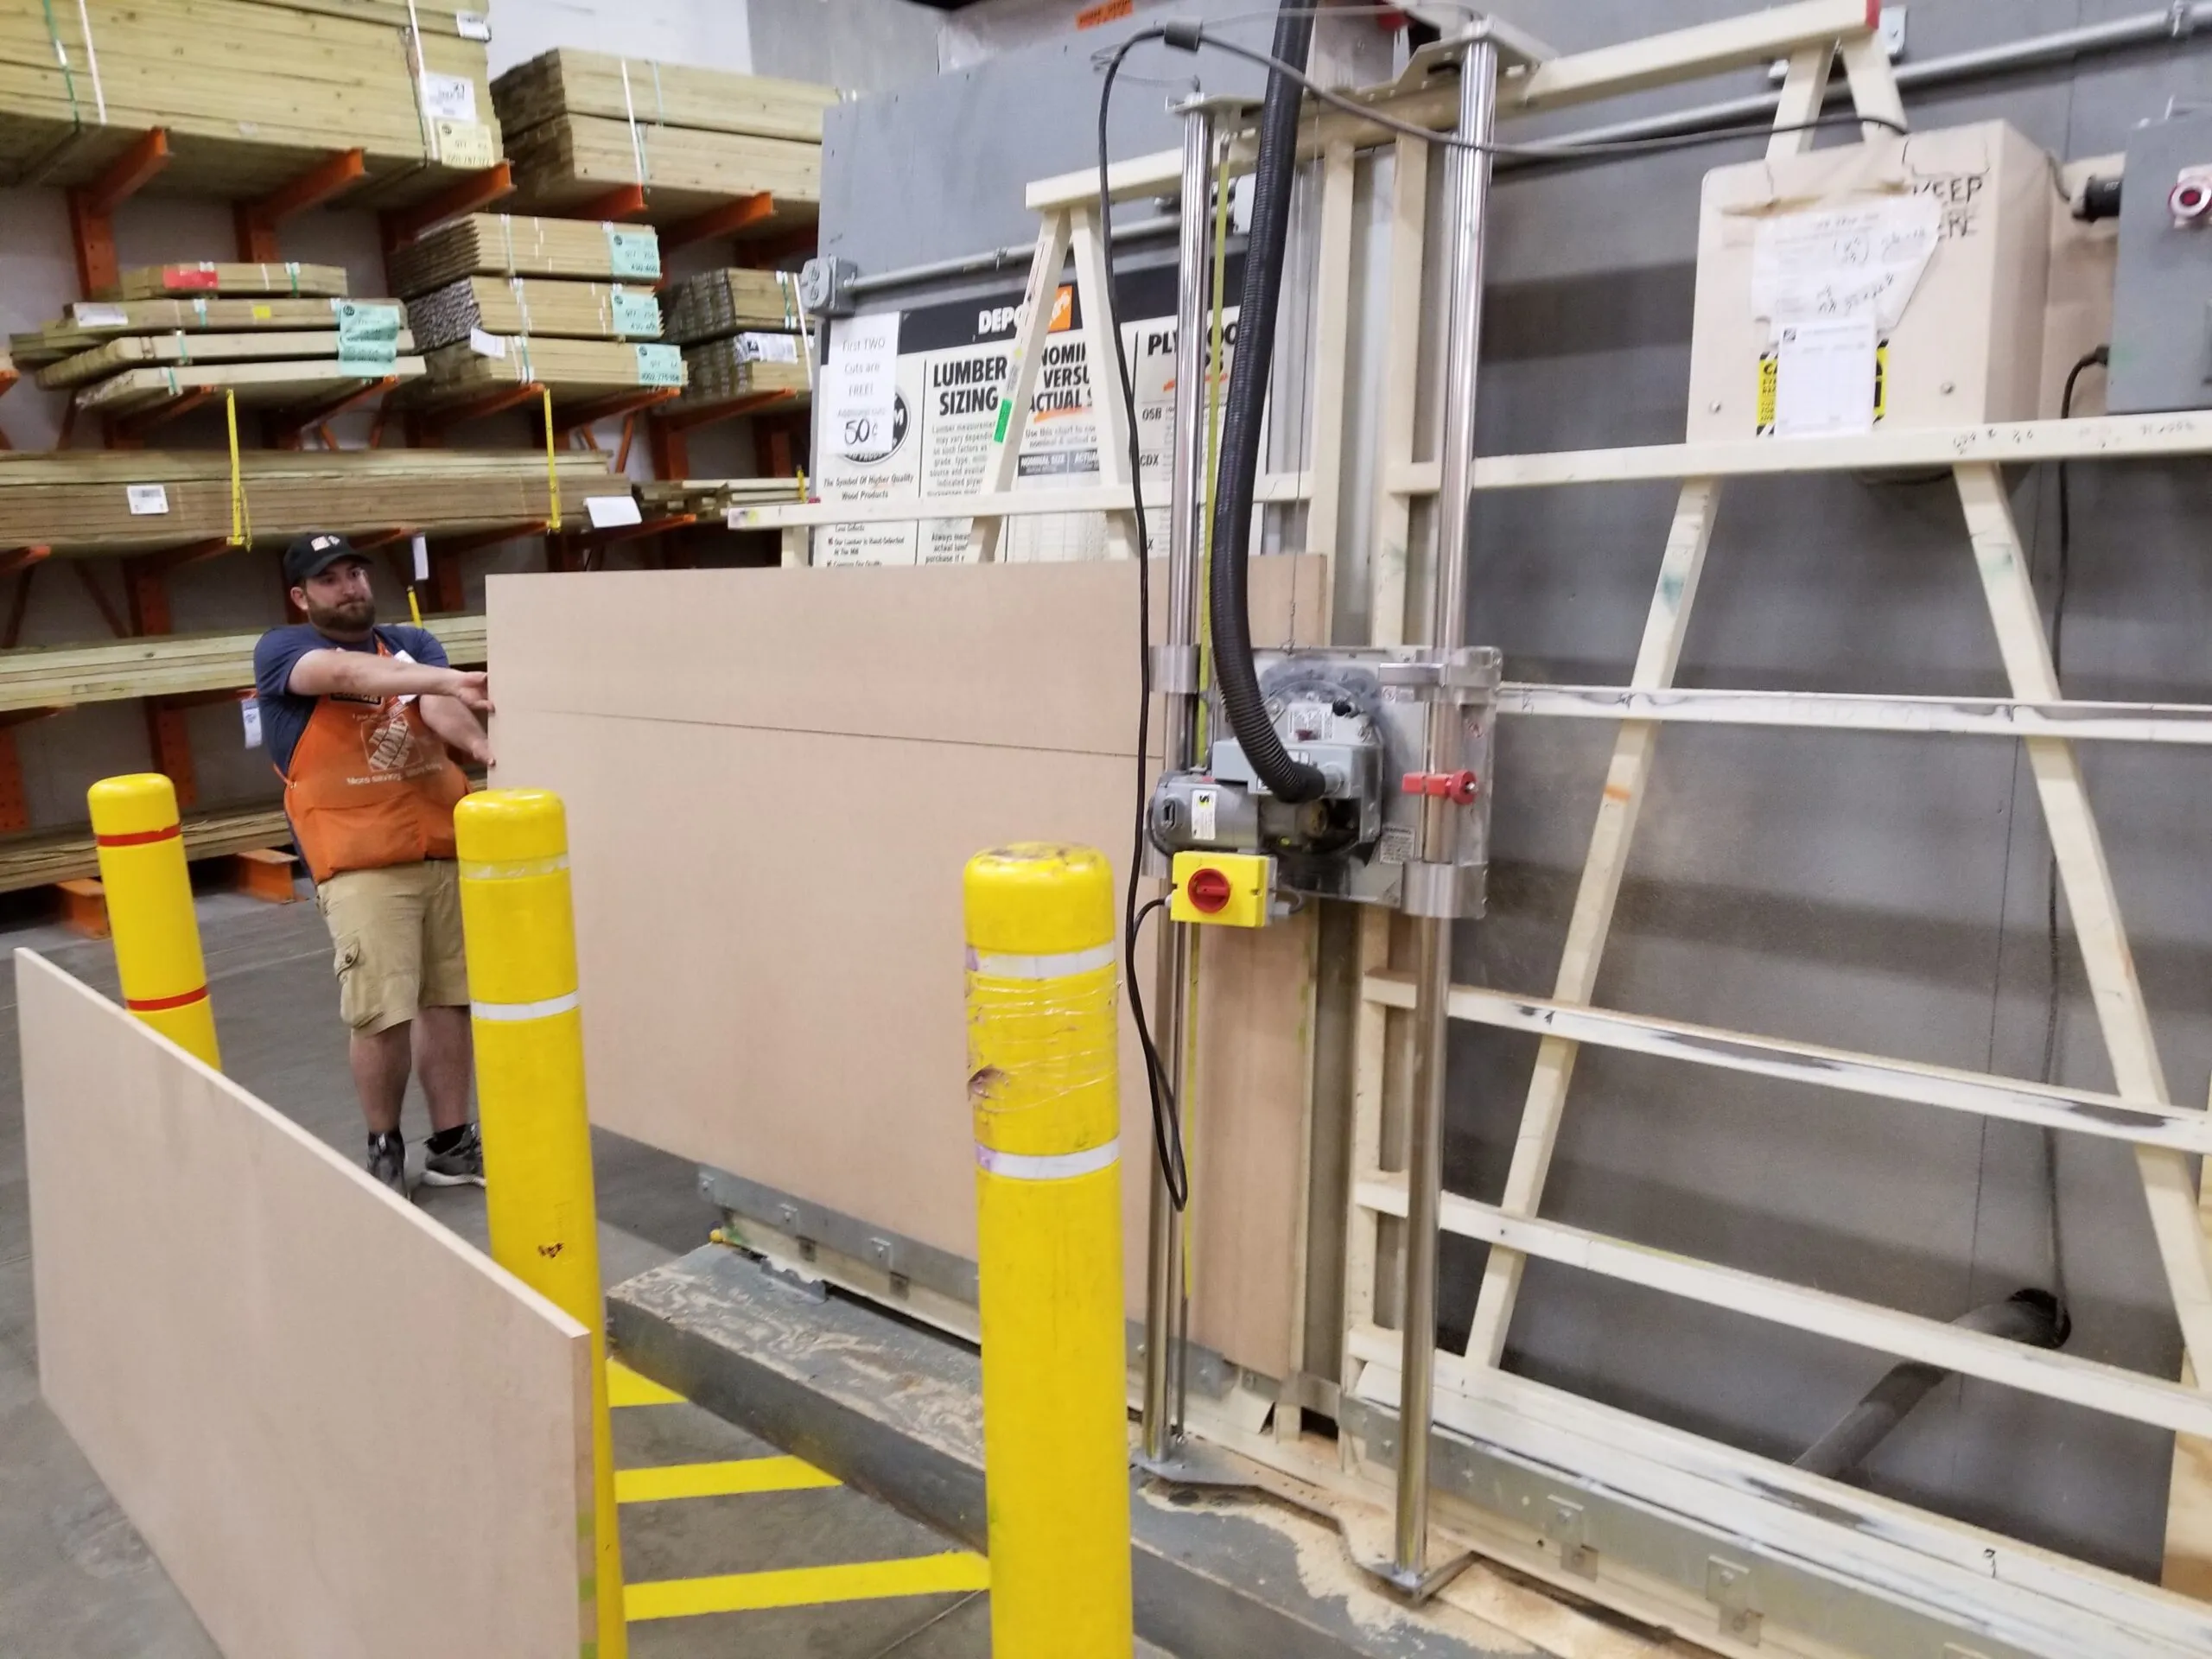
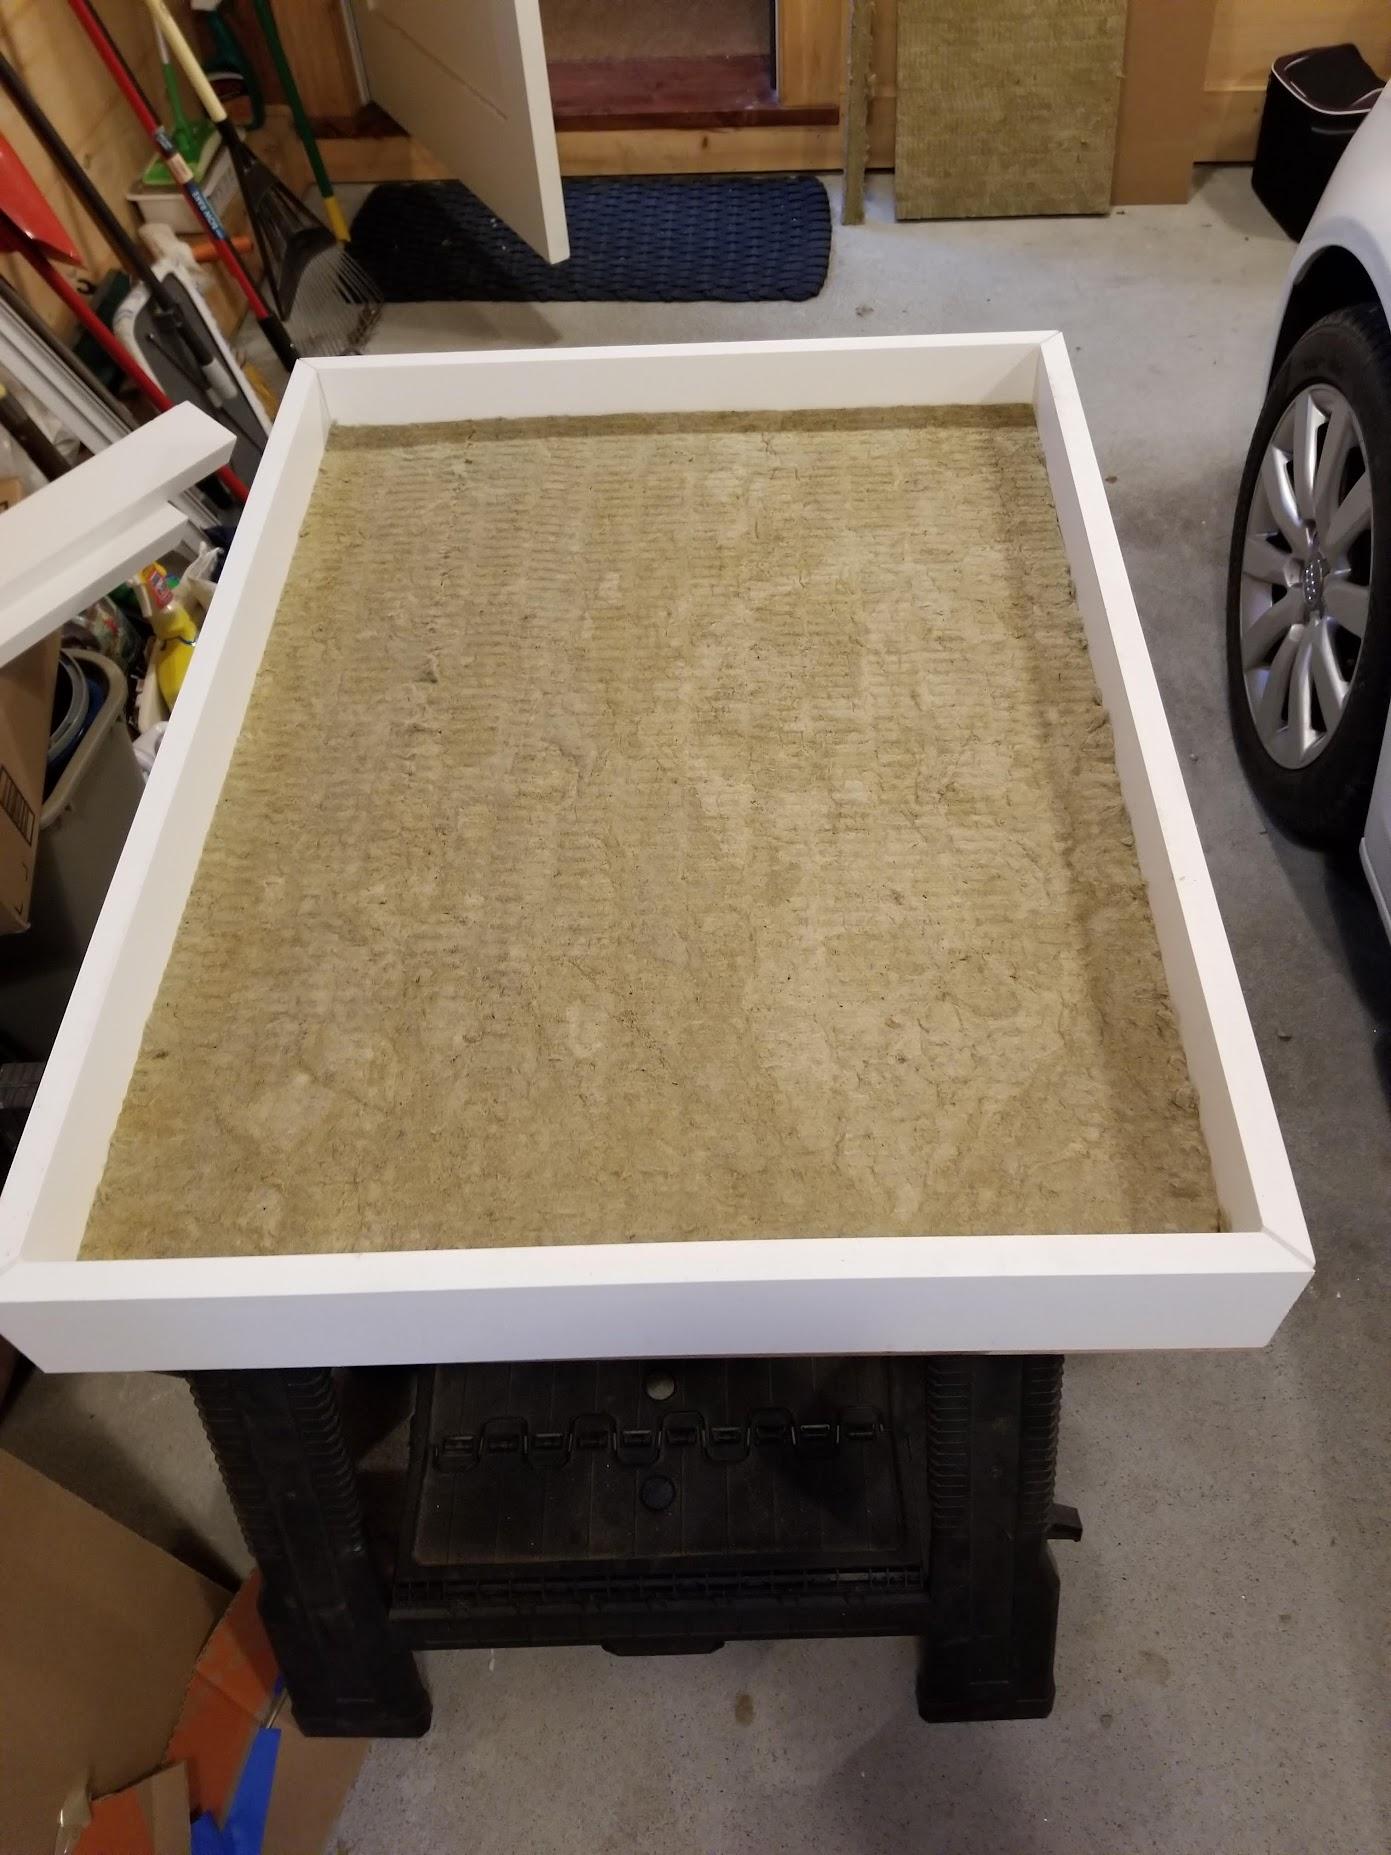
- Backing: I use masonite or pegboard as a backing material. It provides structural support and ensures the panel is easy to hang or mount on walls.
- Core Absorptive Material: The heart of the panel is the absorptive material. Common choices include:
- Rockwool: Dense, mineral-based insulation material with excellent sound absorption properties.
- Owens Corning 703: A fiberglass board widely used in professional acoustic treatments.
- Combination: A slightly more broadband absorber may be had by combining layers of both.
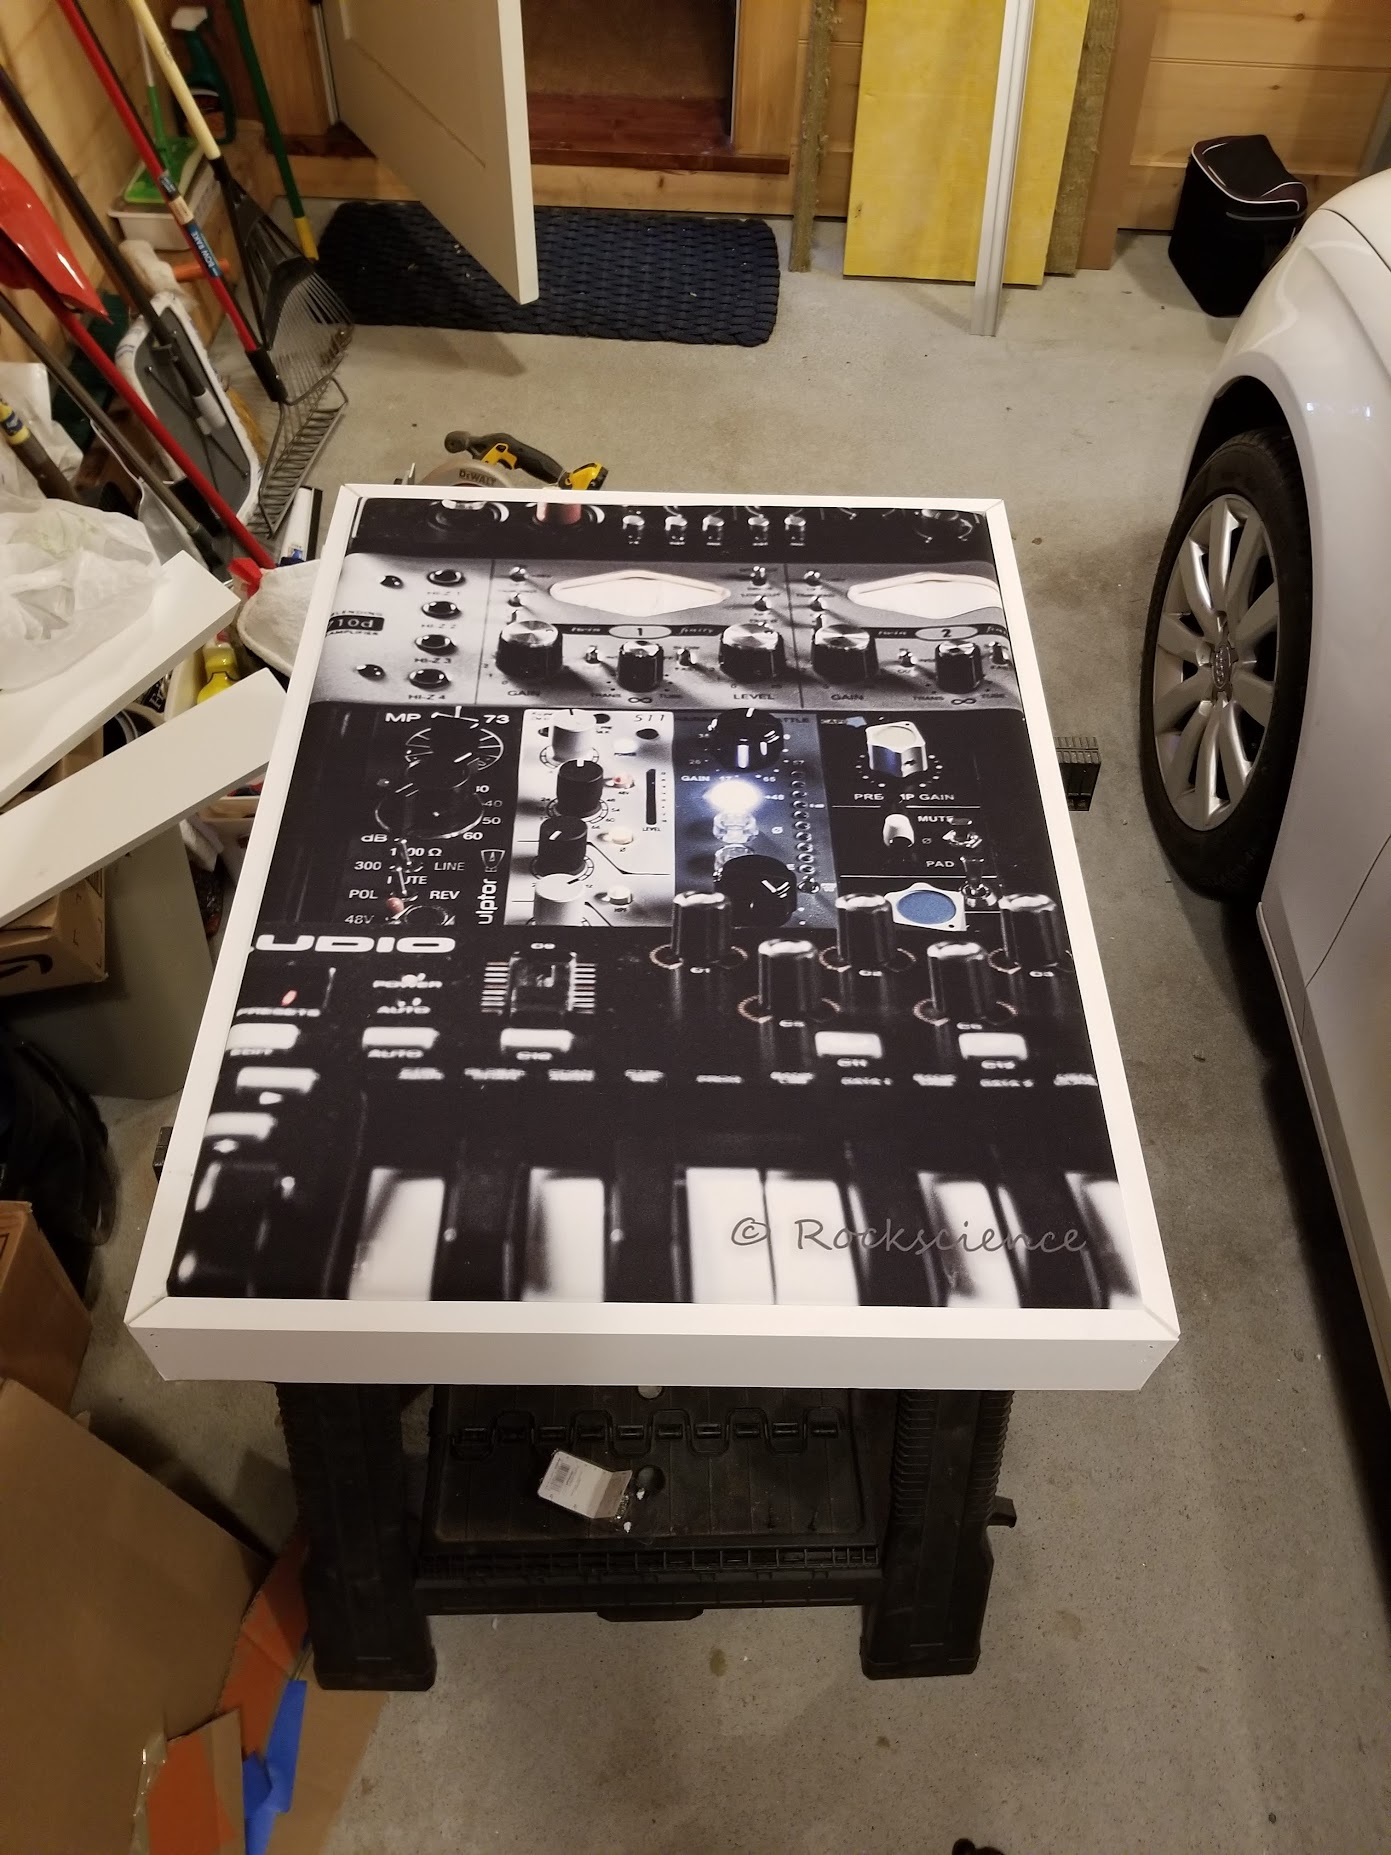
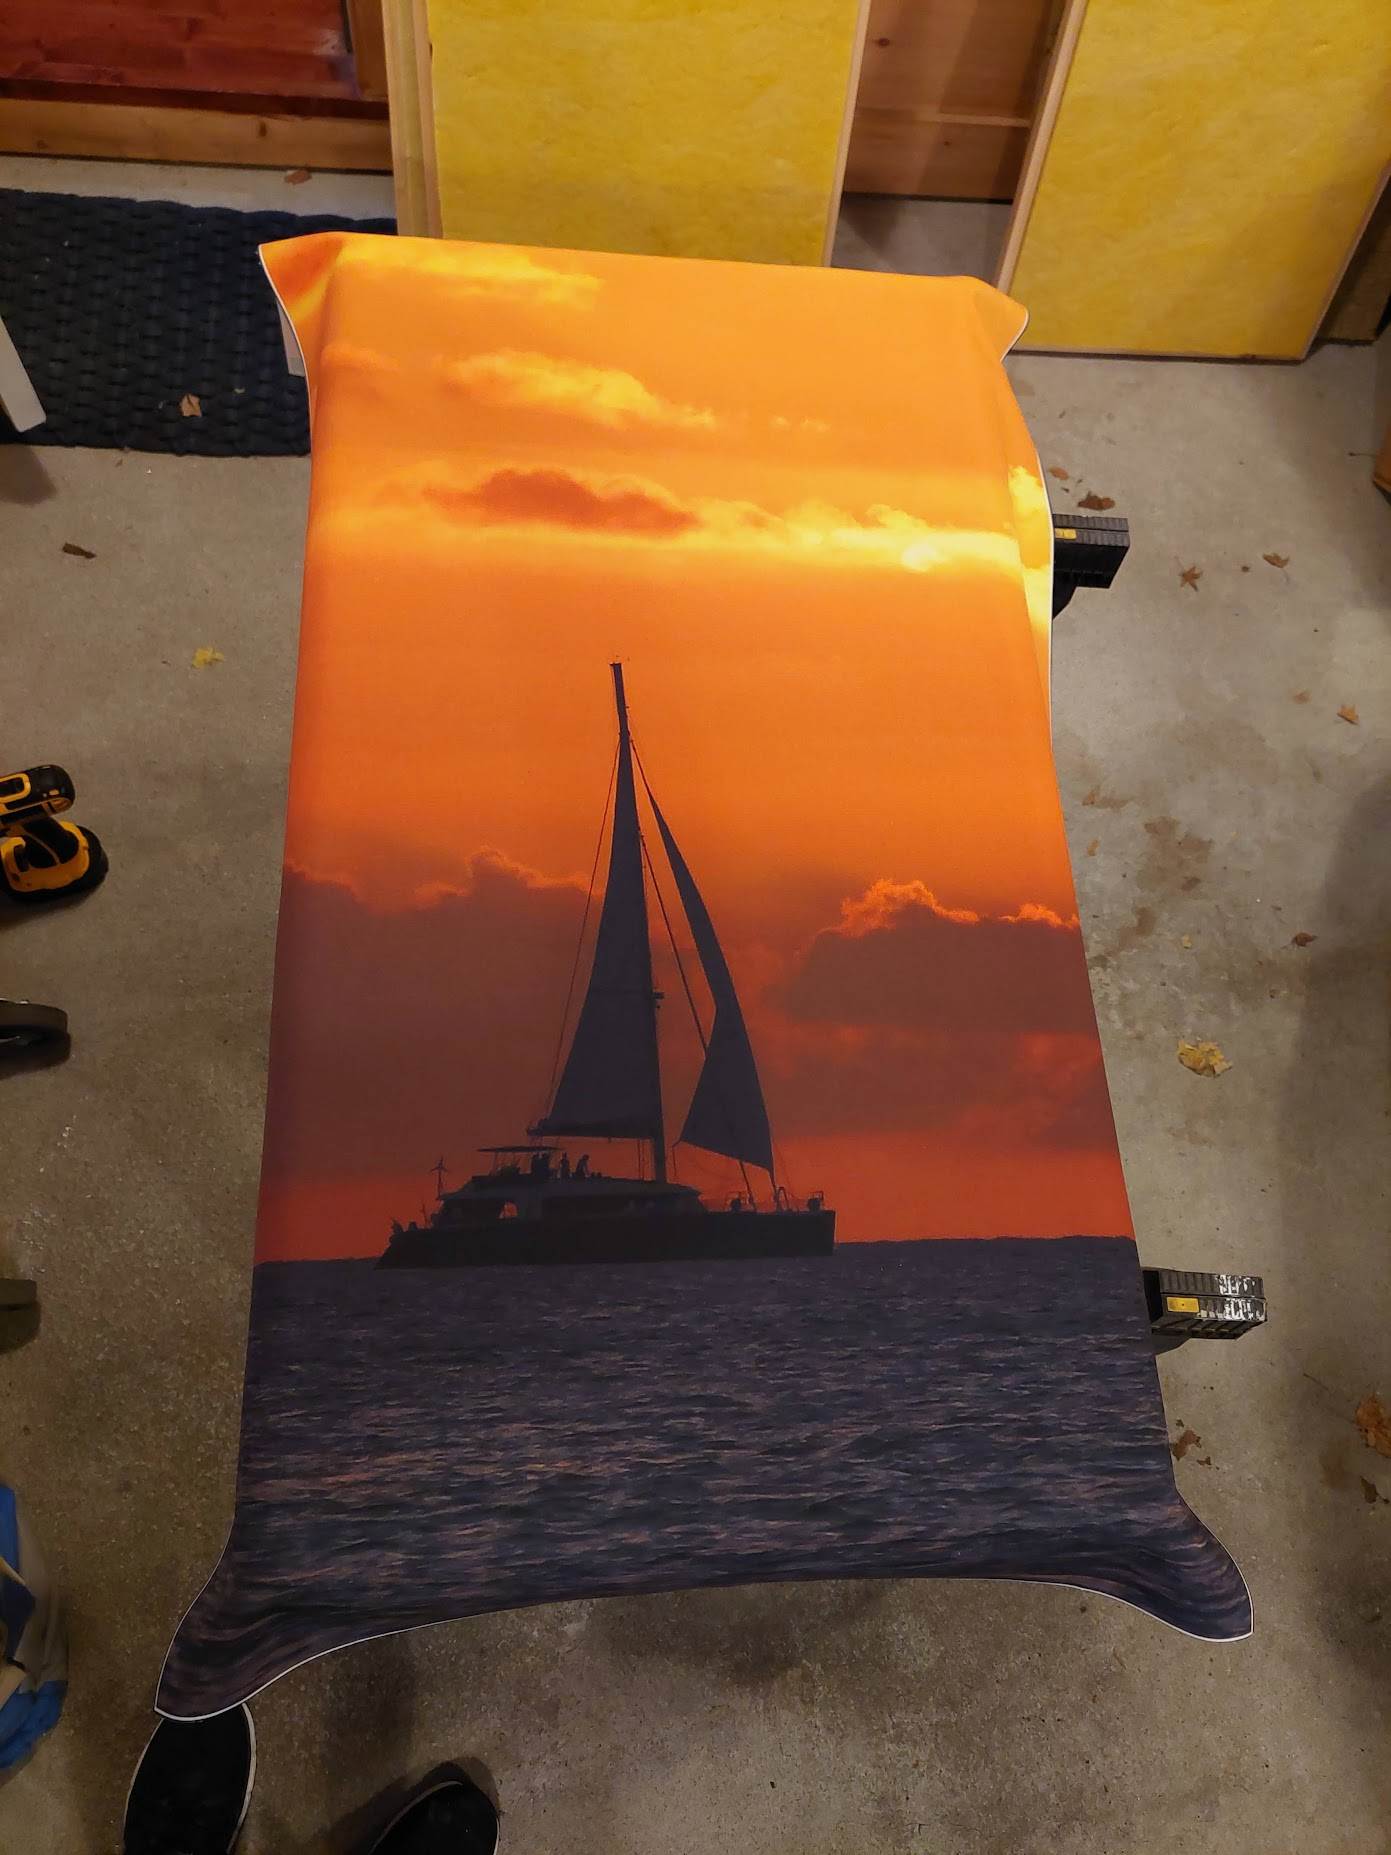
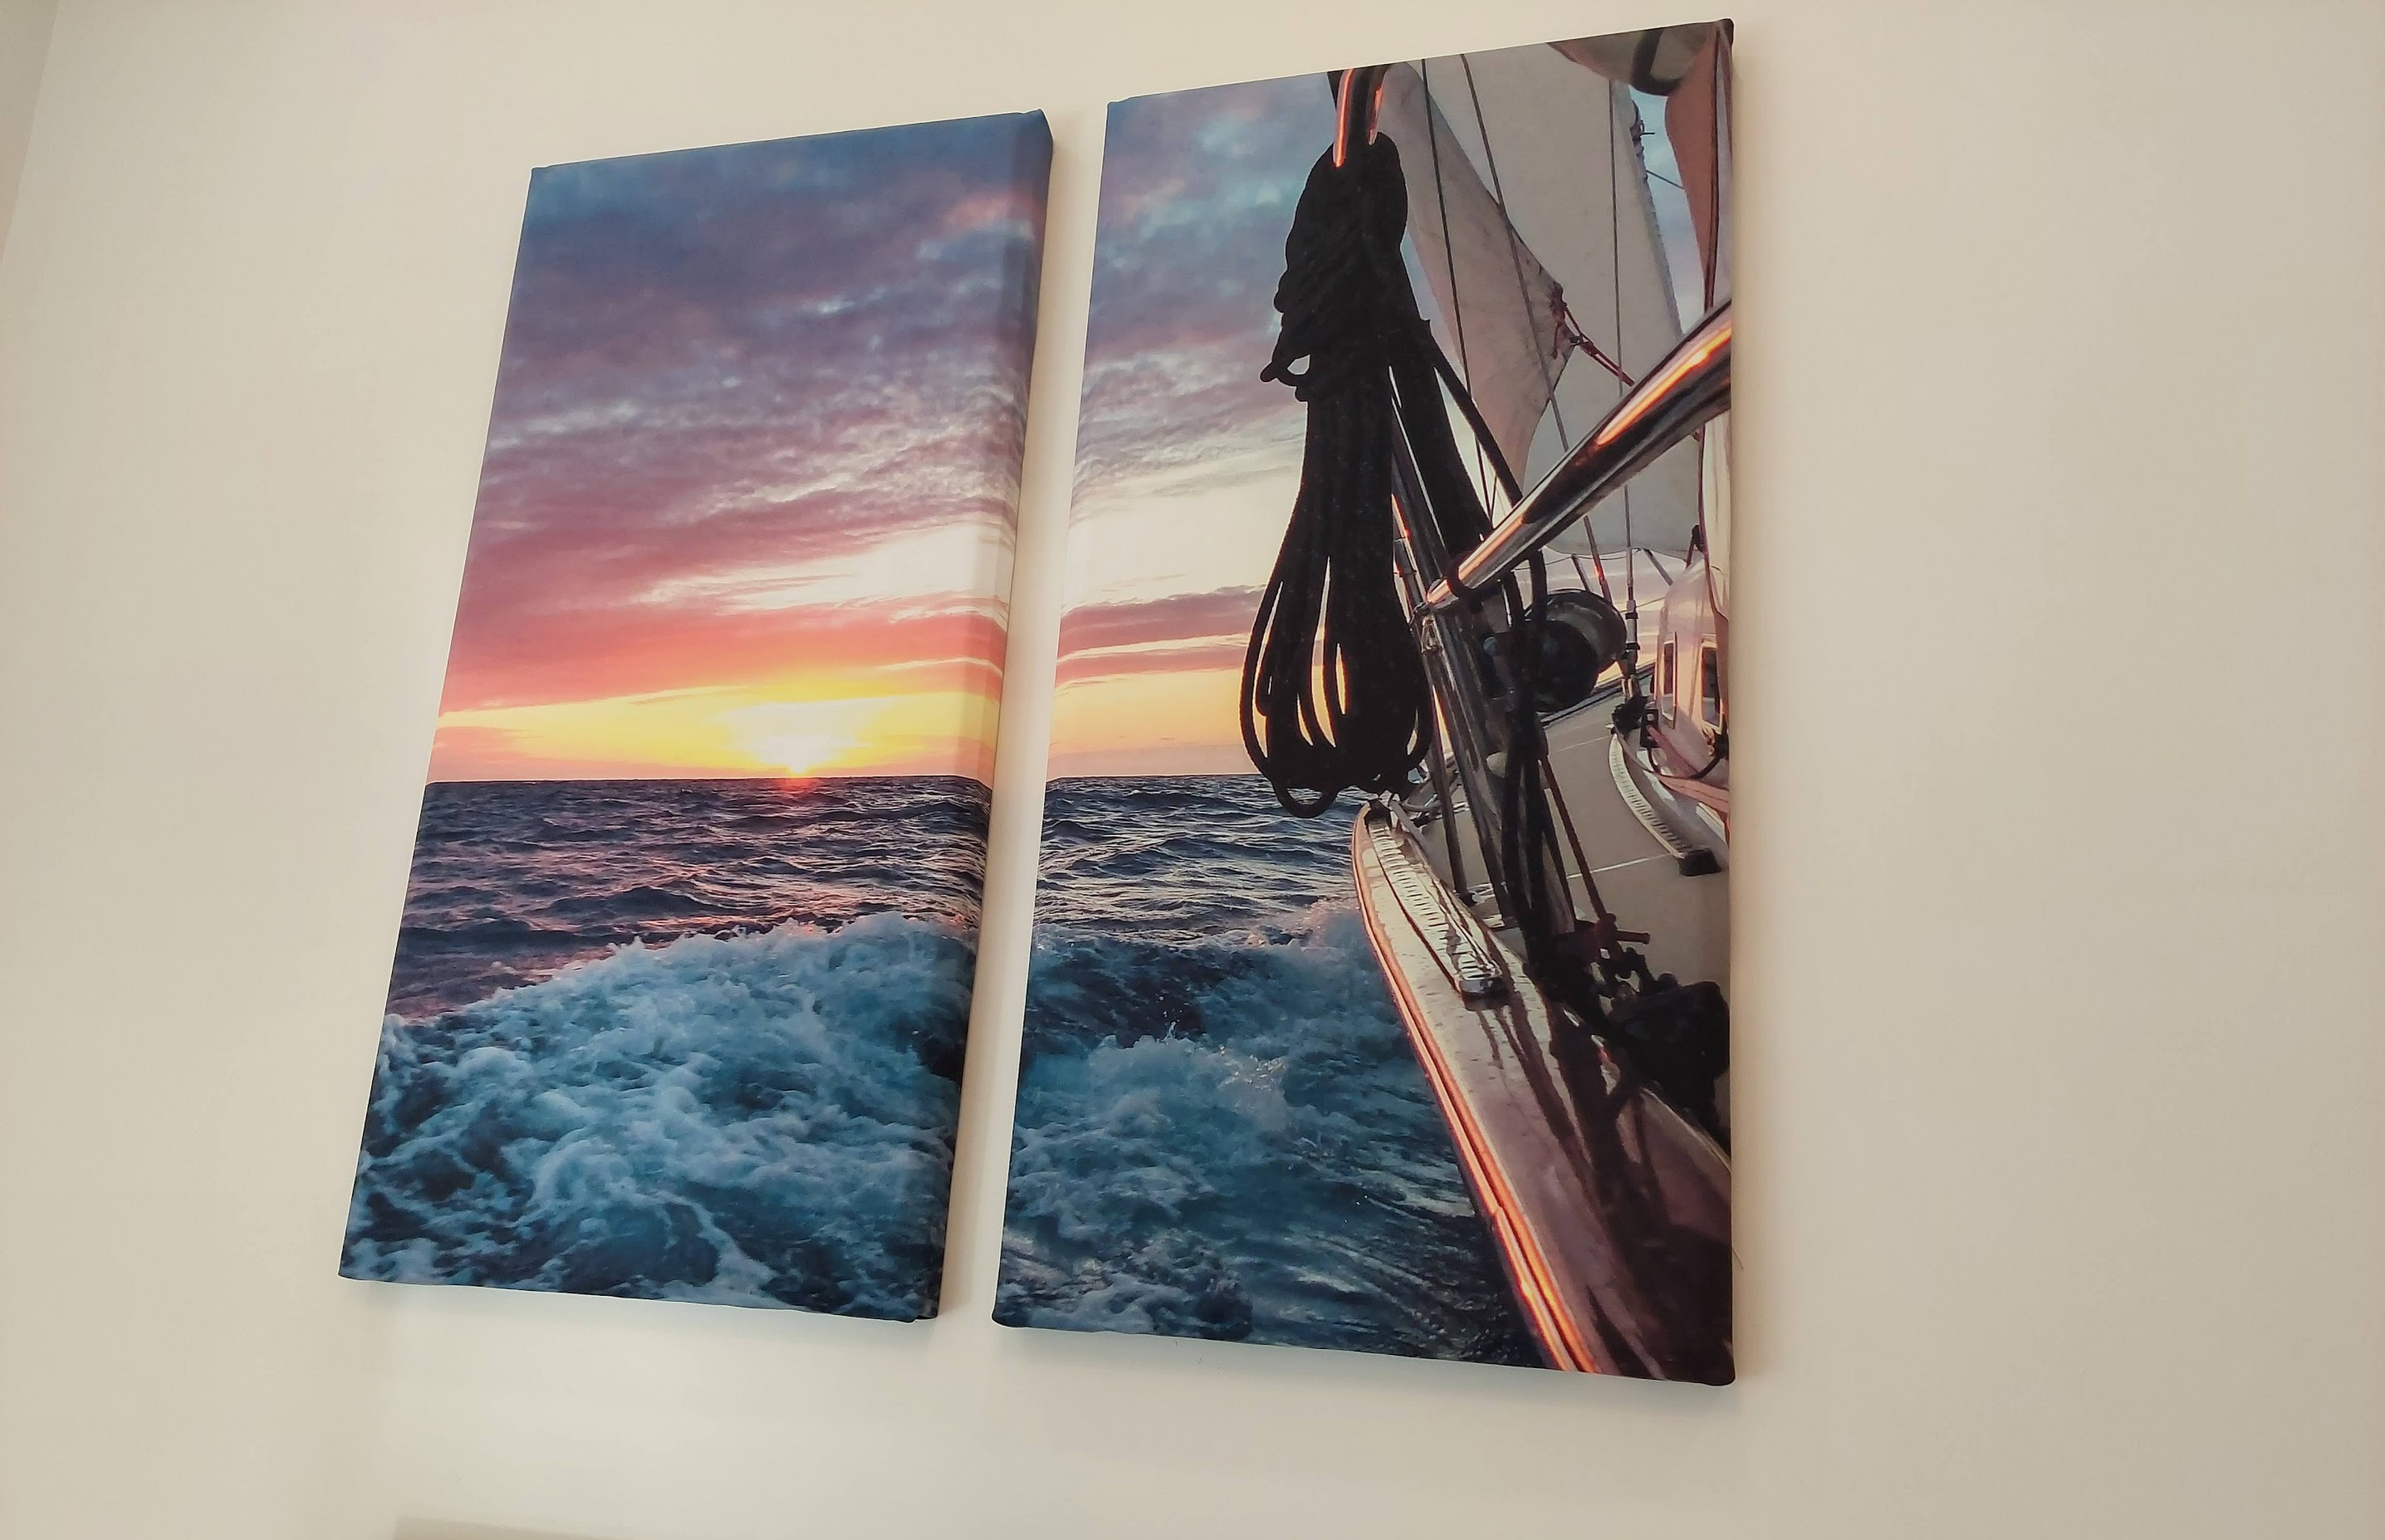
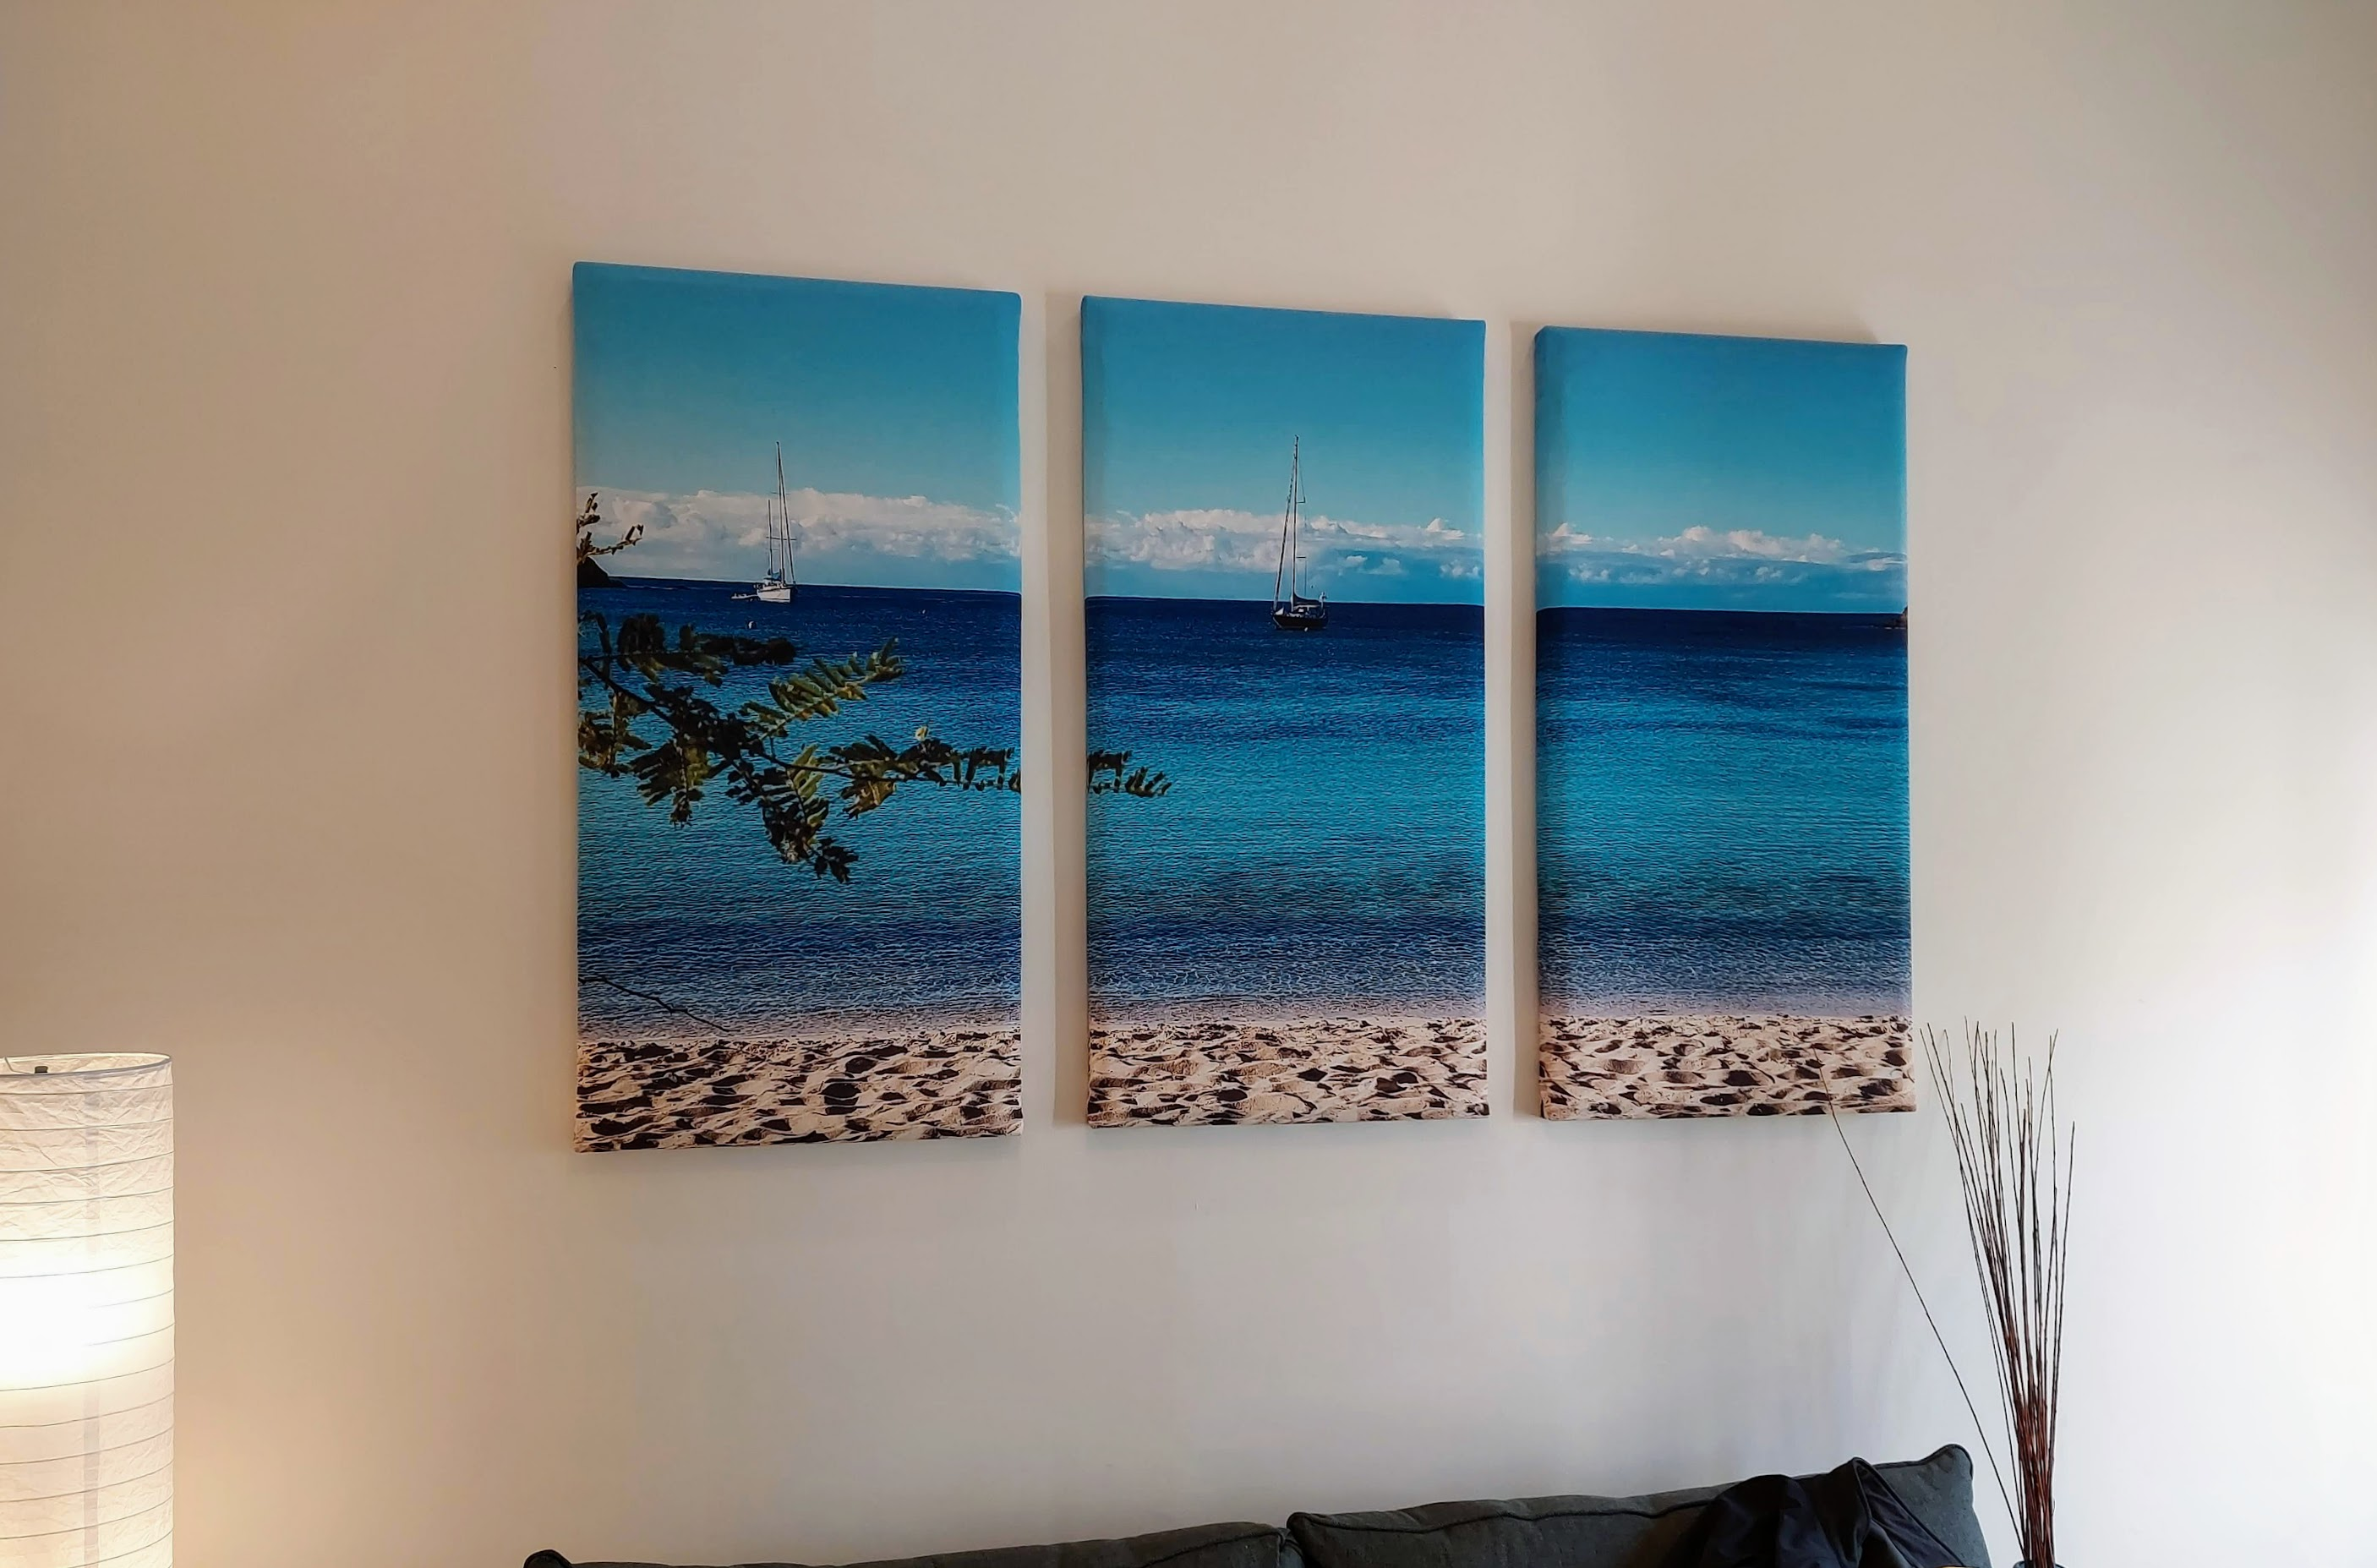
- Fabric Covering: Fabric stretched over the panel gives it a finished appearance while allowing sound waves to pass through to the absorptive material. I prefer using thin canvas cloth, which provides a good balance between sound permeability and durability. As an aesthetic twist, I have my photography or other artwork printed directly on the fabric.

- 6 Pack of 24″ x 48″ x 2″ unfaced Owens Corning 703 semi-rigid fiberglass insulation boards
- Features a Heat Resistance R-Value of 8.7 to reduce heat transfer and lower operating costs
- Features a Noise Reduction Coefficient (NRC) of 1.0 for superior sound absorption
Step-by-Step Guide to Building Acoustic Panels
Here’s how to build your own acoustic panels:
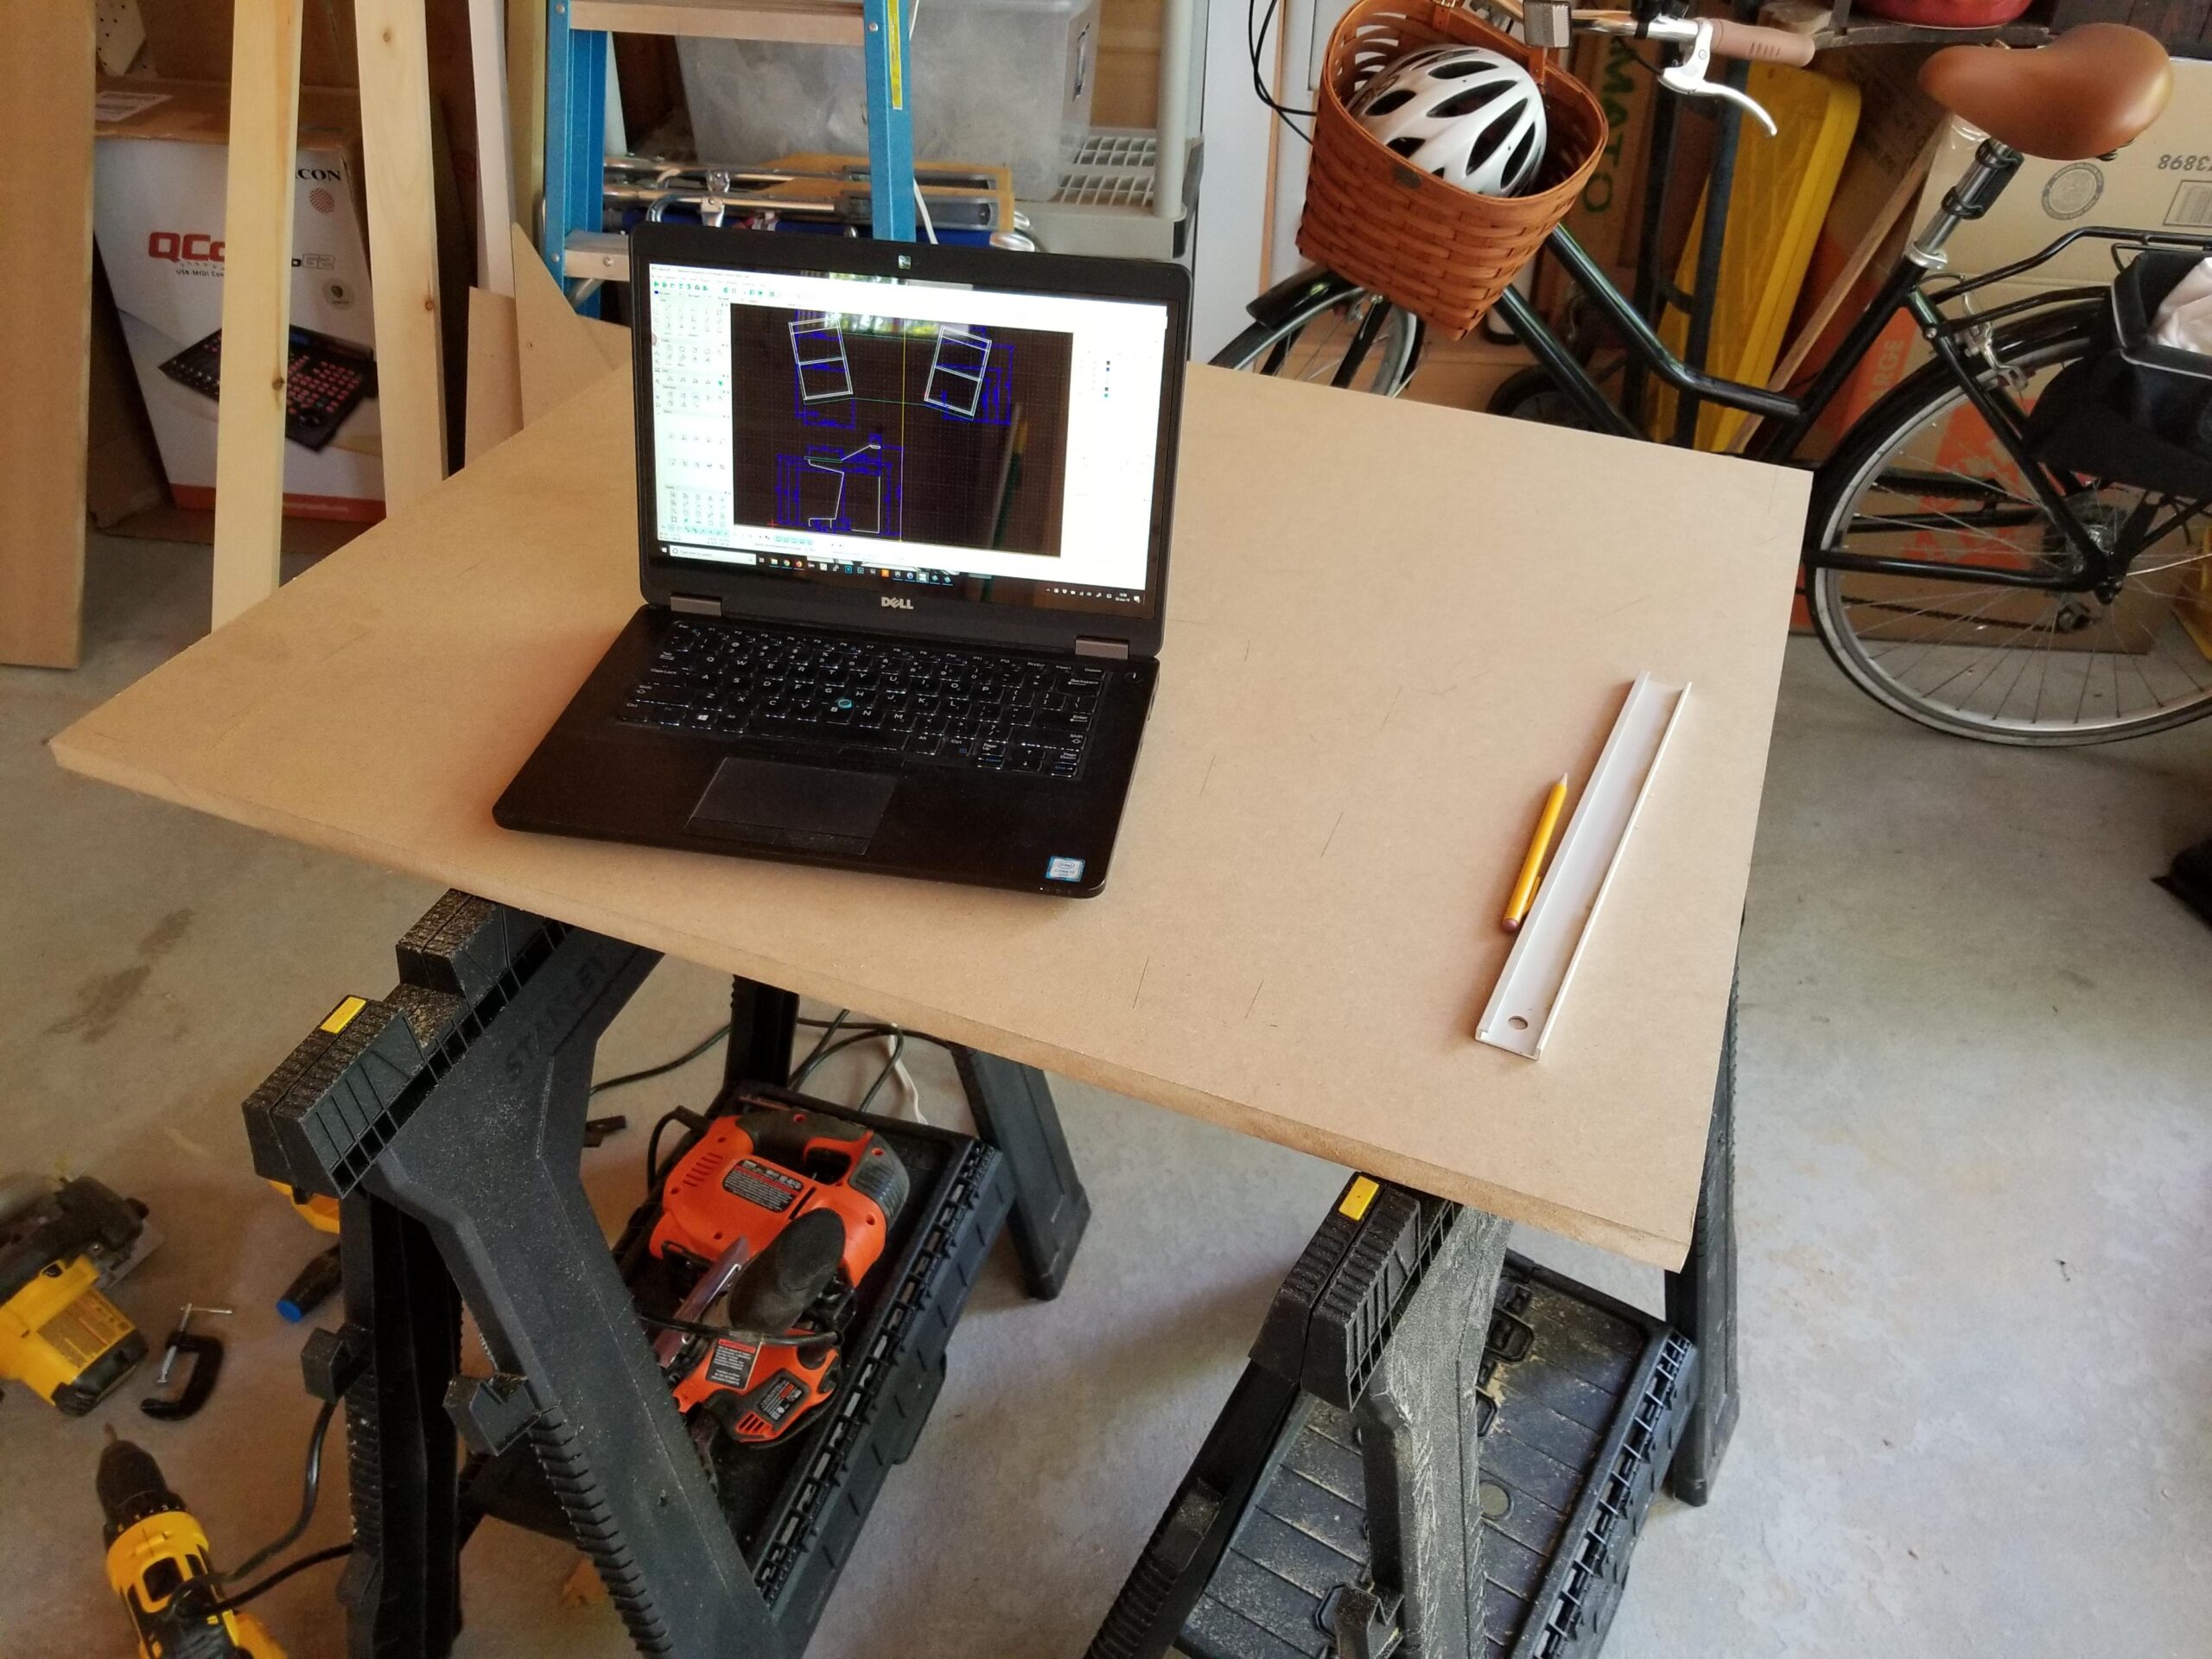
1. Gather Your Materials
- Masonite or pegboard backing (cut to your desired panel size, e.g., 2’ x 4’).
- Rockwool, Owens Corning 703, or similar material.
- Thin canvas fabric (plain or printed with your artwork).
- Staple Gun
- Wood strips (optional, for framing).
- A mounting screw or anchor (depending on the wall surface)
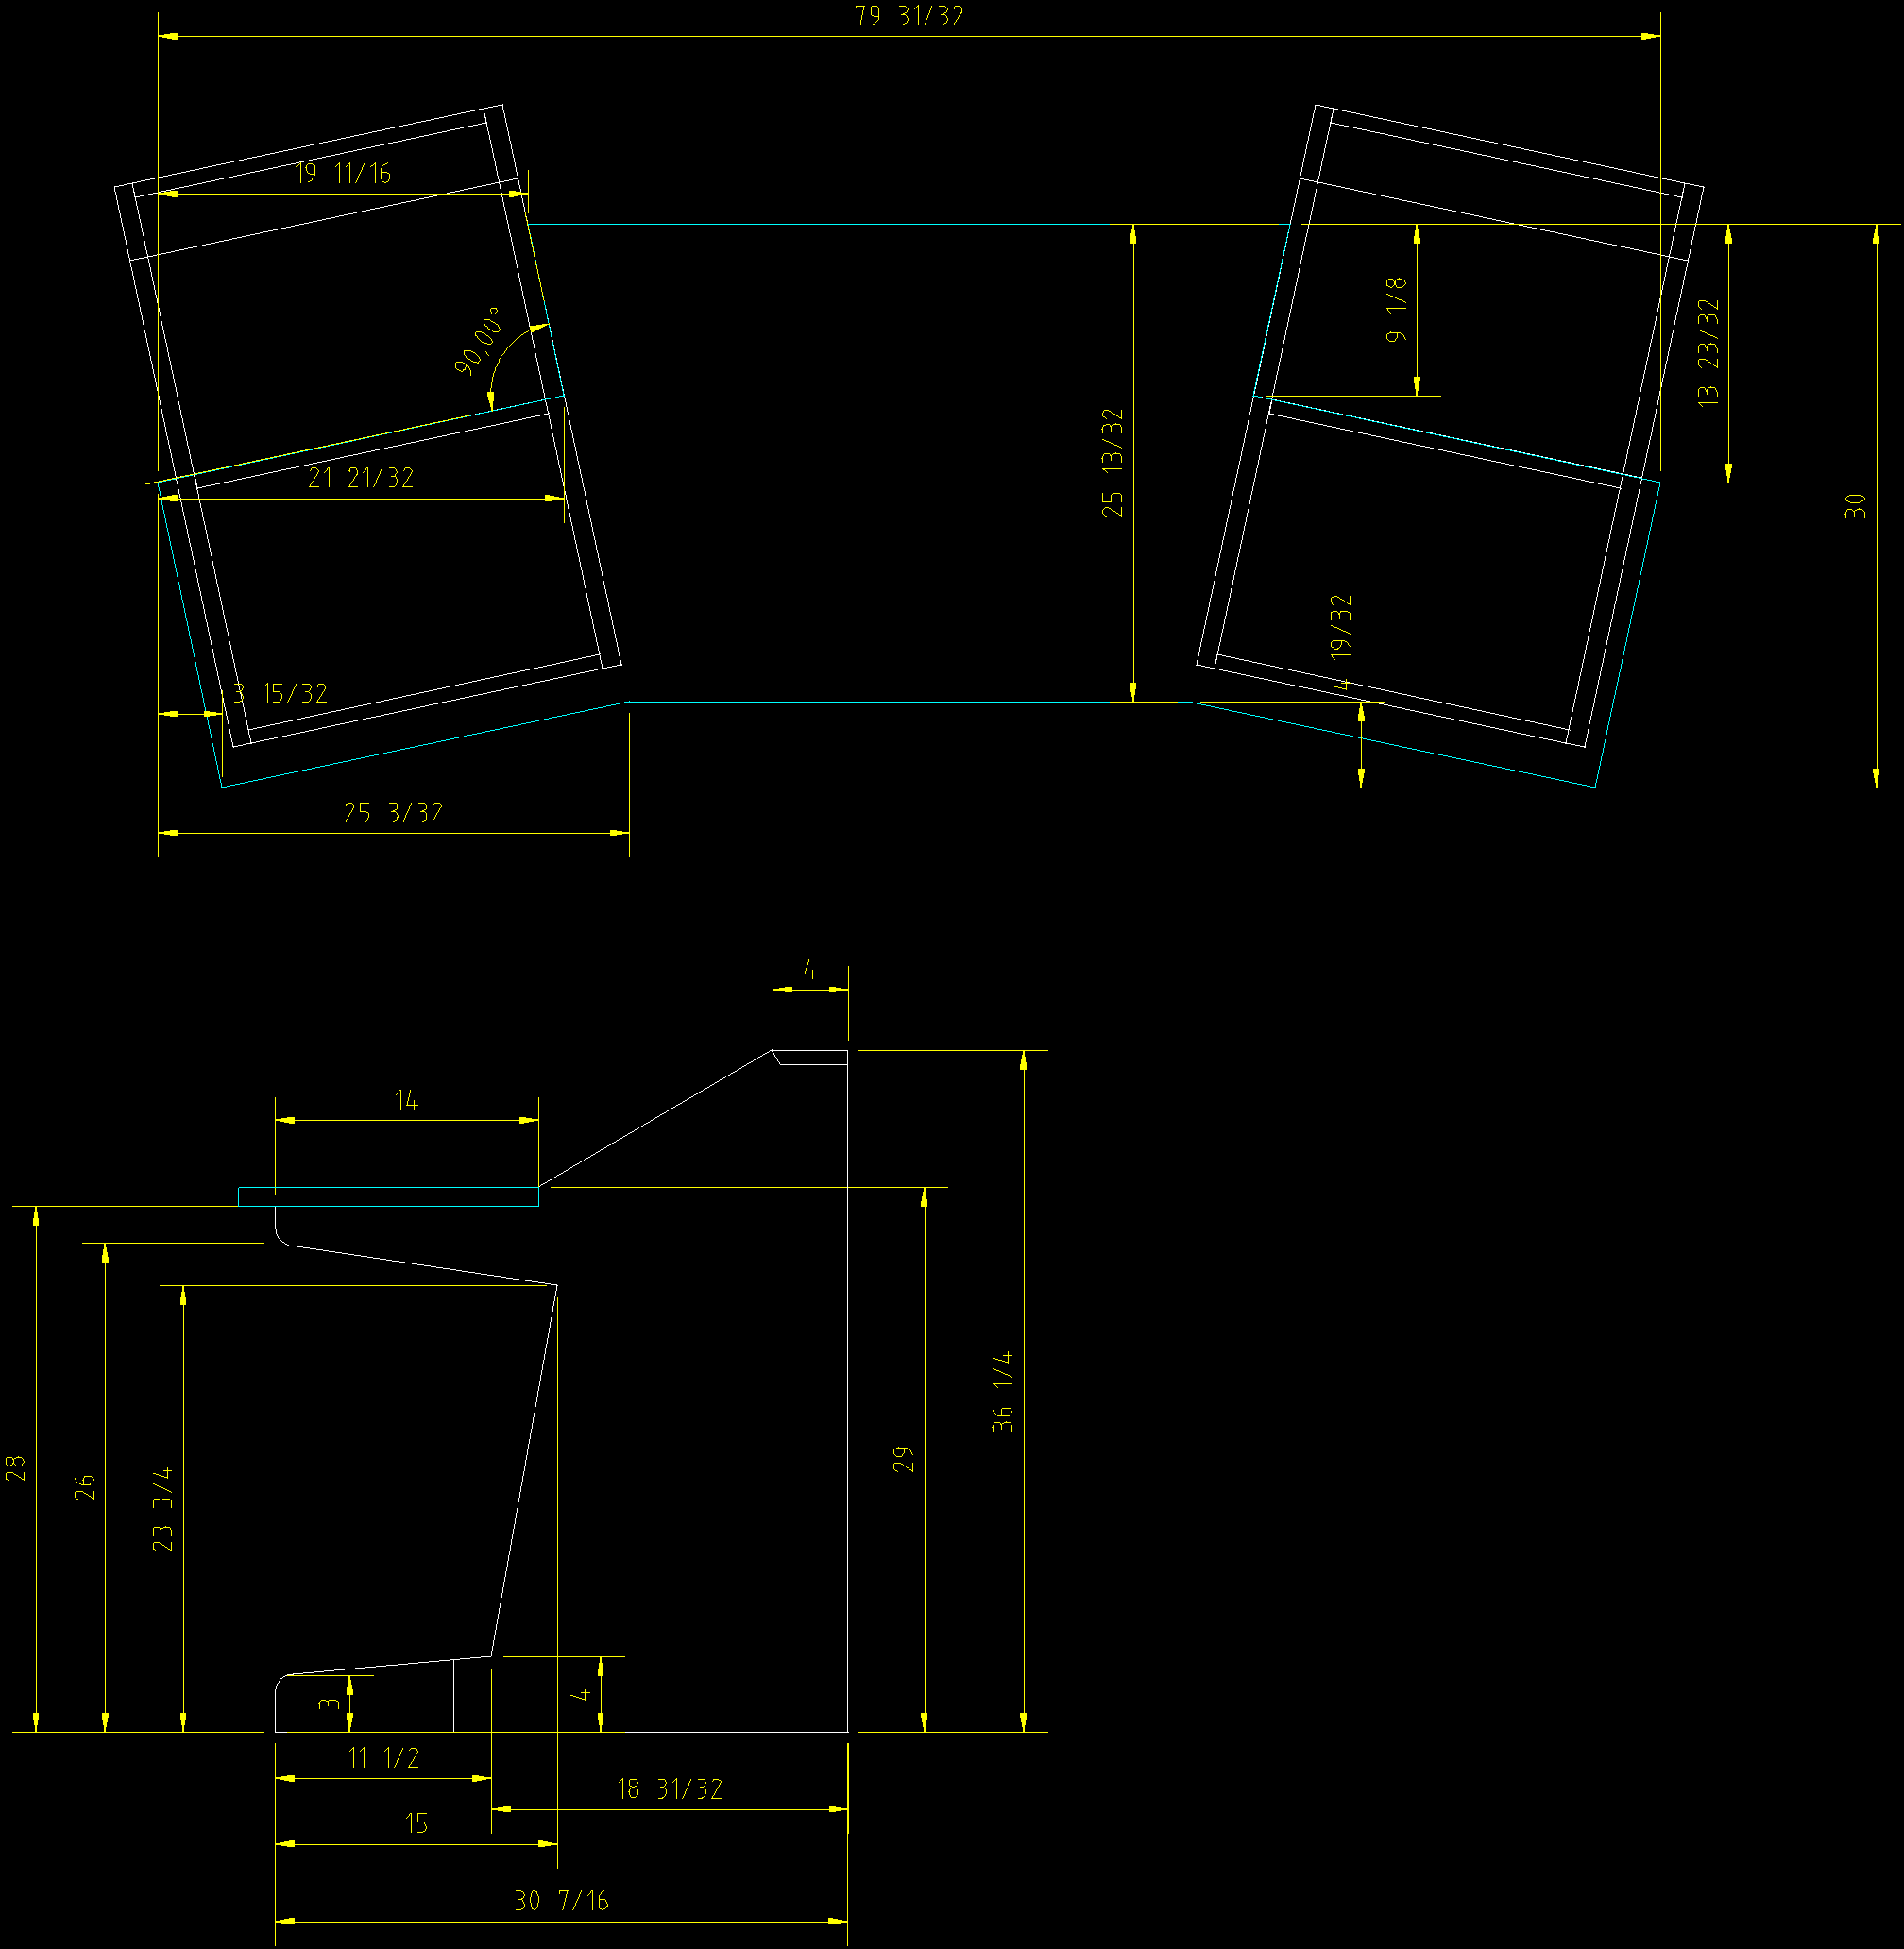
2. Cut and Assemble the Frame
If you’d like your panel to have a sturdy frame, you can build a simple rectangular frame using wood strips. This frame will house the absorptive material and provide additional rigidity. I normally skip the frame and instead do a smooth wrap-around of the material.
4. Insert the Absorptive Material
Cut the rockwool or fiberglass to fit snugly within the frame or directly on the backing. Ensure the material covers the entire surface for consistent absorption. If you are going frameless, make sure the edges are nice and clean so the fabric wraps nicely with no lumps or dips.
5. Stretch and Attach the Fabric
Lay the fabric over the front of the panel, ensuring it’s large enough to wrap around the edges. Pull the fabric tight and secure it to the back of the panel using a staple gun. If you’re using printed fabric, take care to align the artwork properly for a clean, professional look.
For stapling into Masonite, you need a pretty hefty staple gun. Press the gun down very firmly when you fire it, else it will “hop” up off the hard masonite.
6. Mounting
For wall mountings, I keep it very simple and use a single screw centered about 1 inch down from the top. Mount that screw into the wall with the head sticking out about 3/4 an inch. Use anchors or mount into a stud as appropriate. I drill a oversized hole in the Masonite and the screw head simply stick into that hole. If you’ve centered it will, the panel will hang vertically.
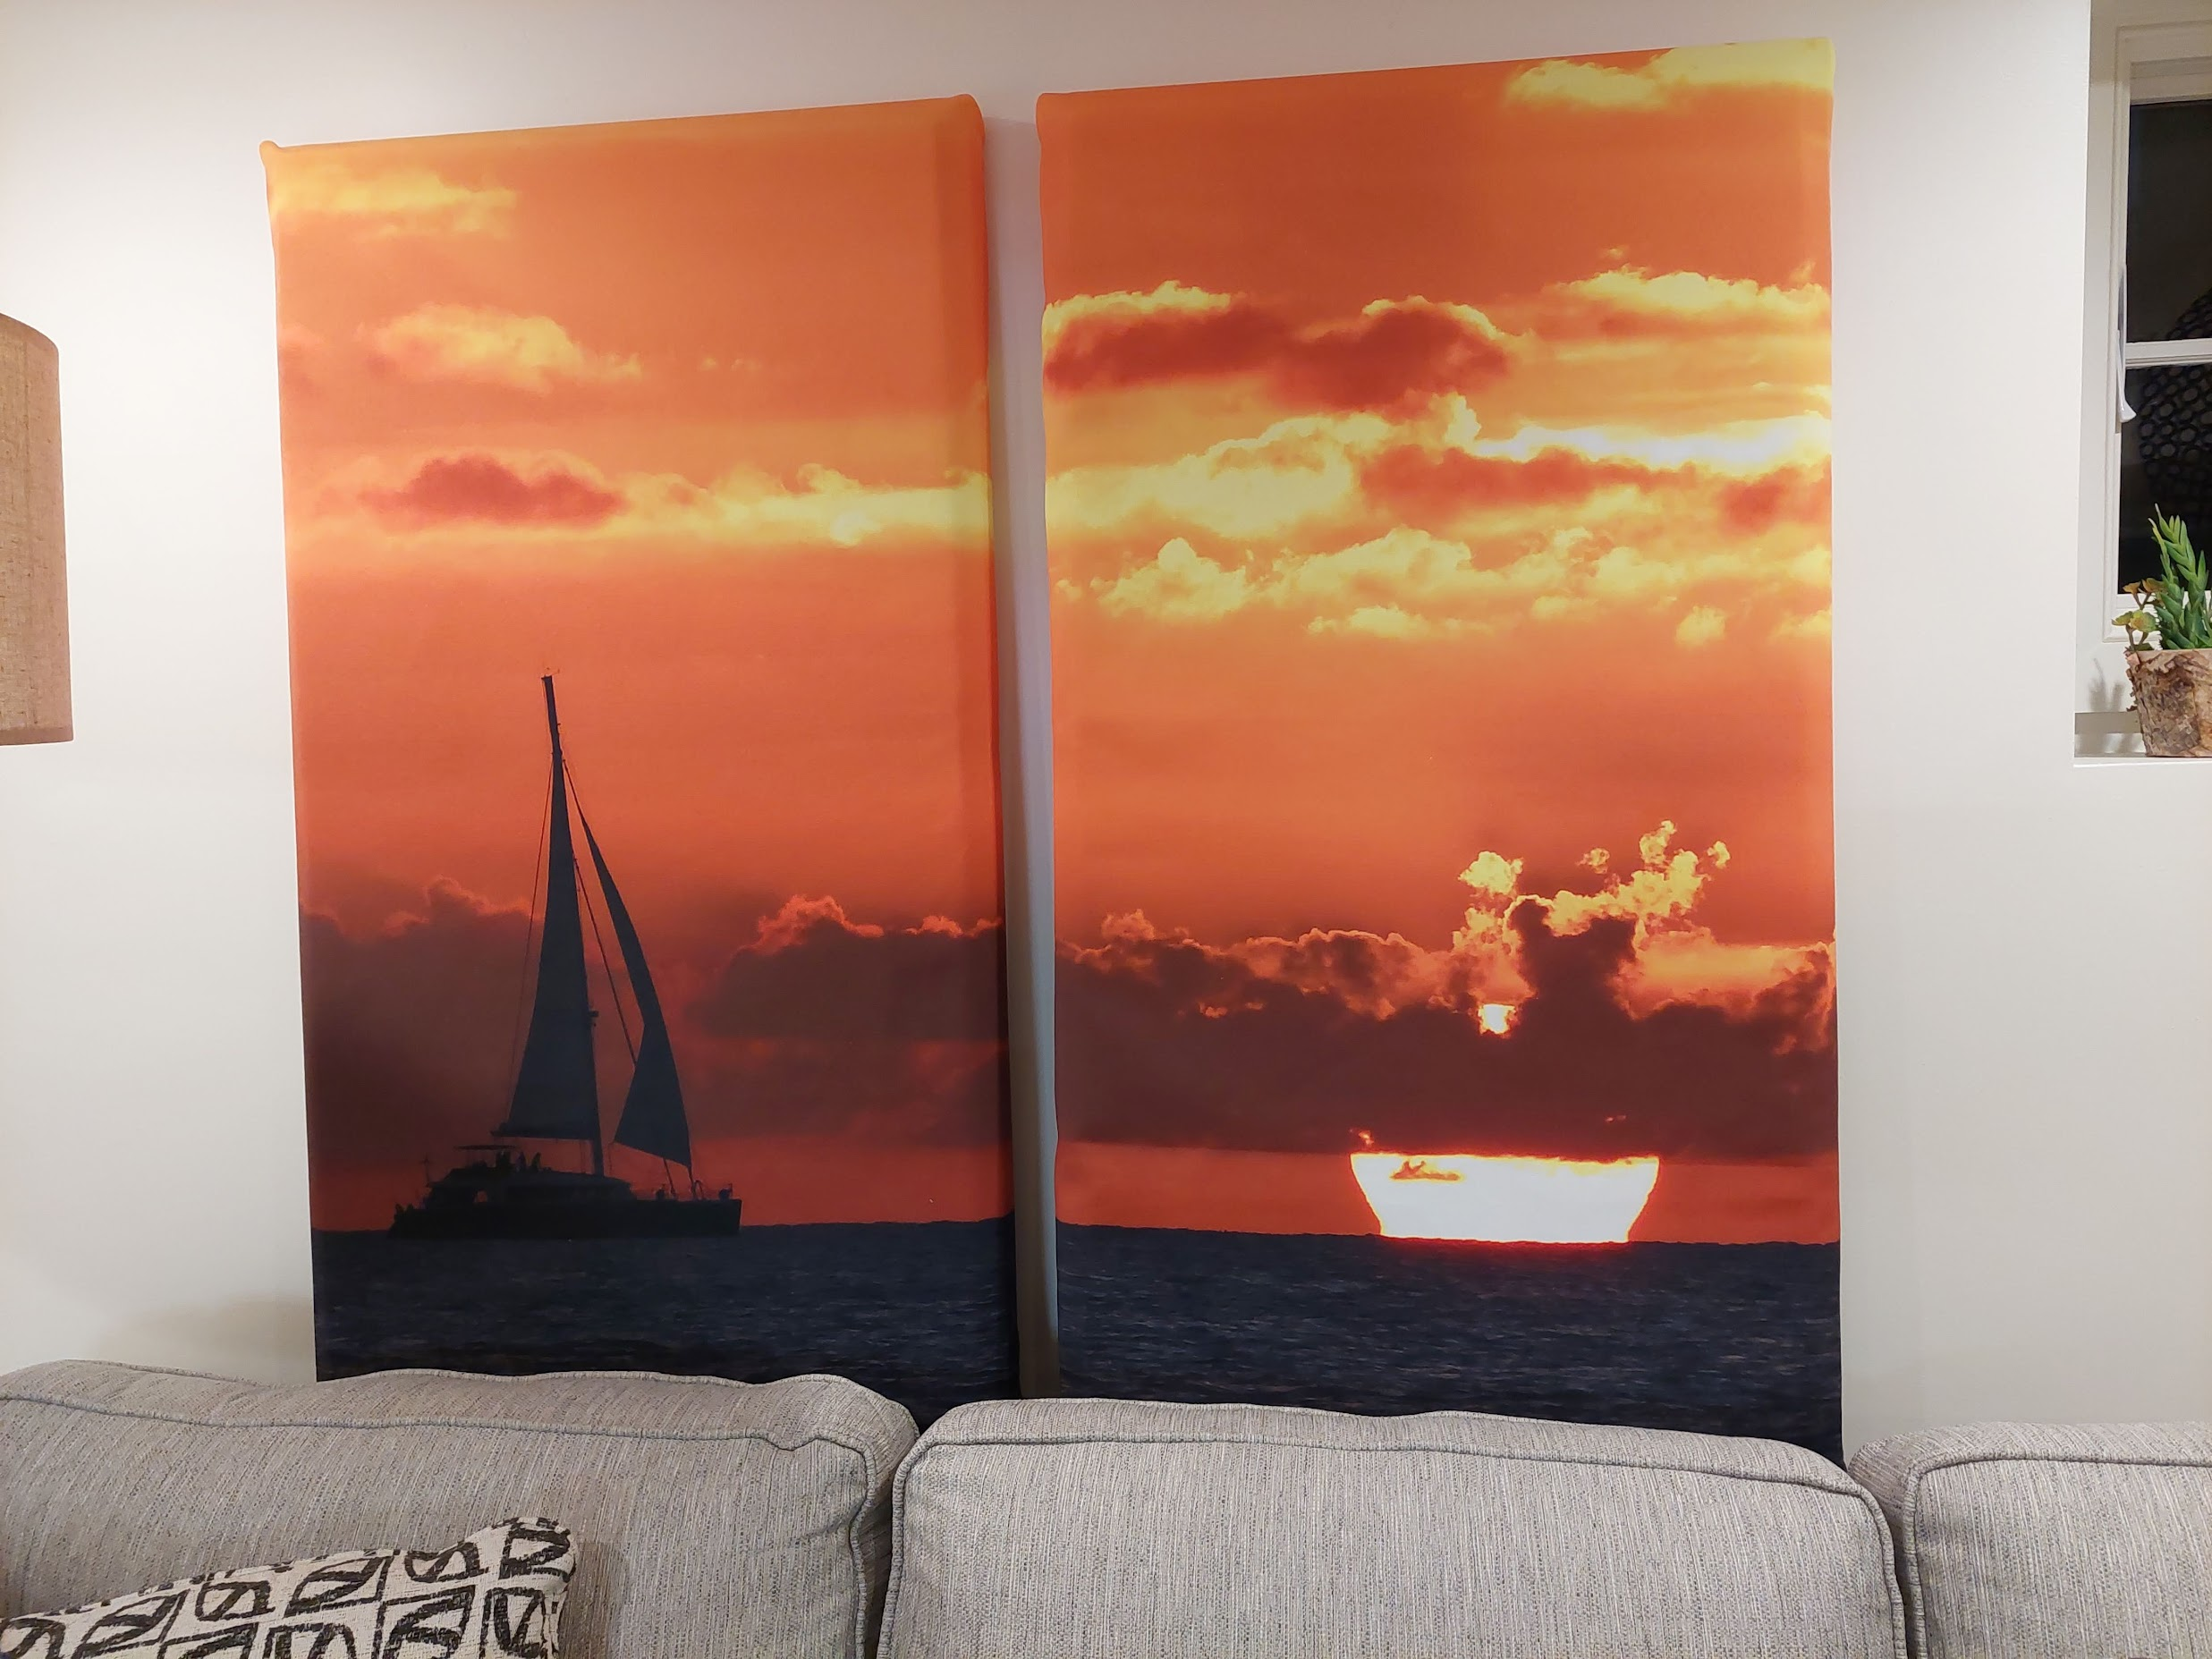
Aesthetic Considerations: Adding a Personal Touch
One of the most exciting aspects of building acoustic panels is the ability to customize their appearance. While plain fabric works perfectly well, I take it a step further by printing my photography or artwork on thin canvas fabric. This transforms the panels from functional tools into pieces of art that complement the room’s décor. There are plenty of online services that will print artwork on lightweight canvas.


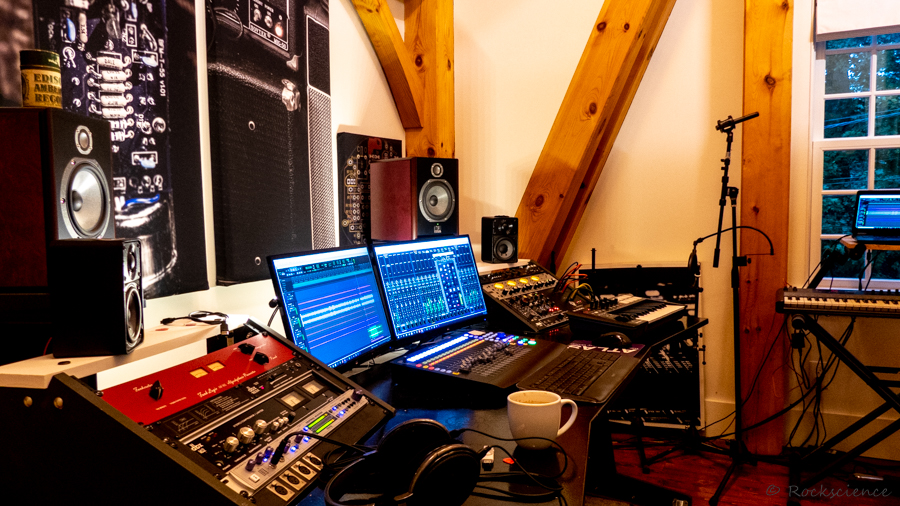
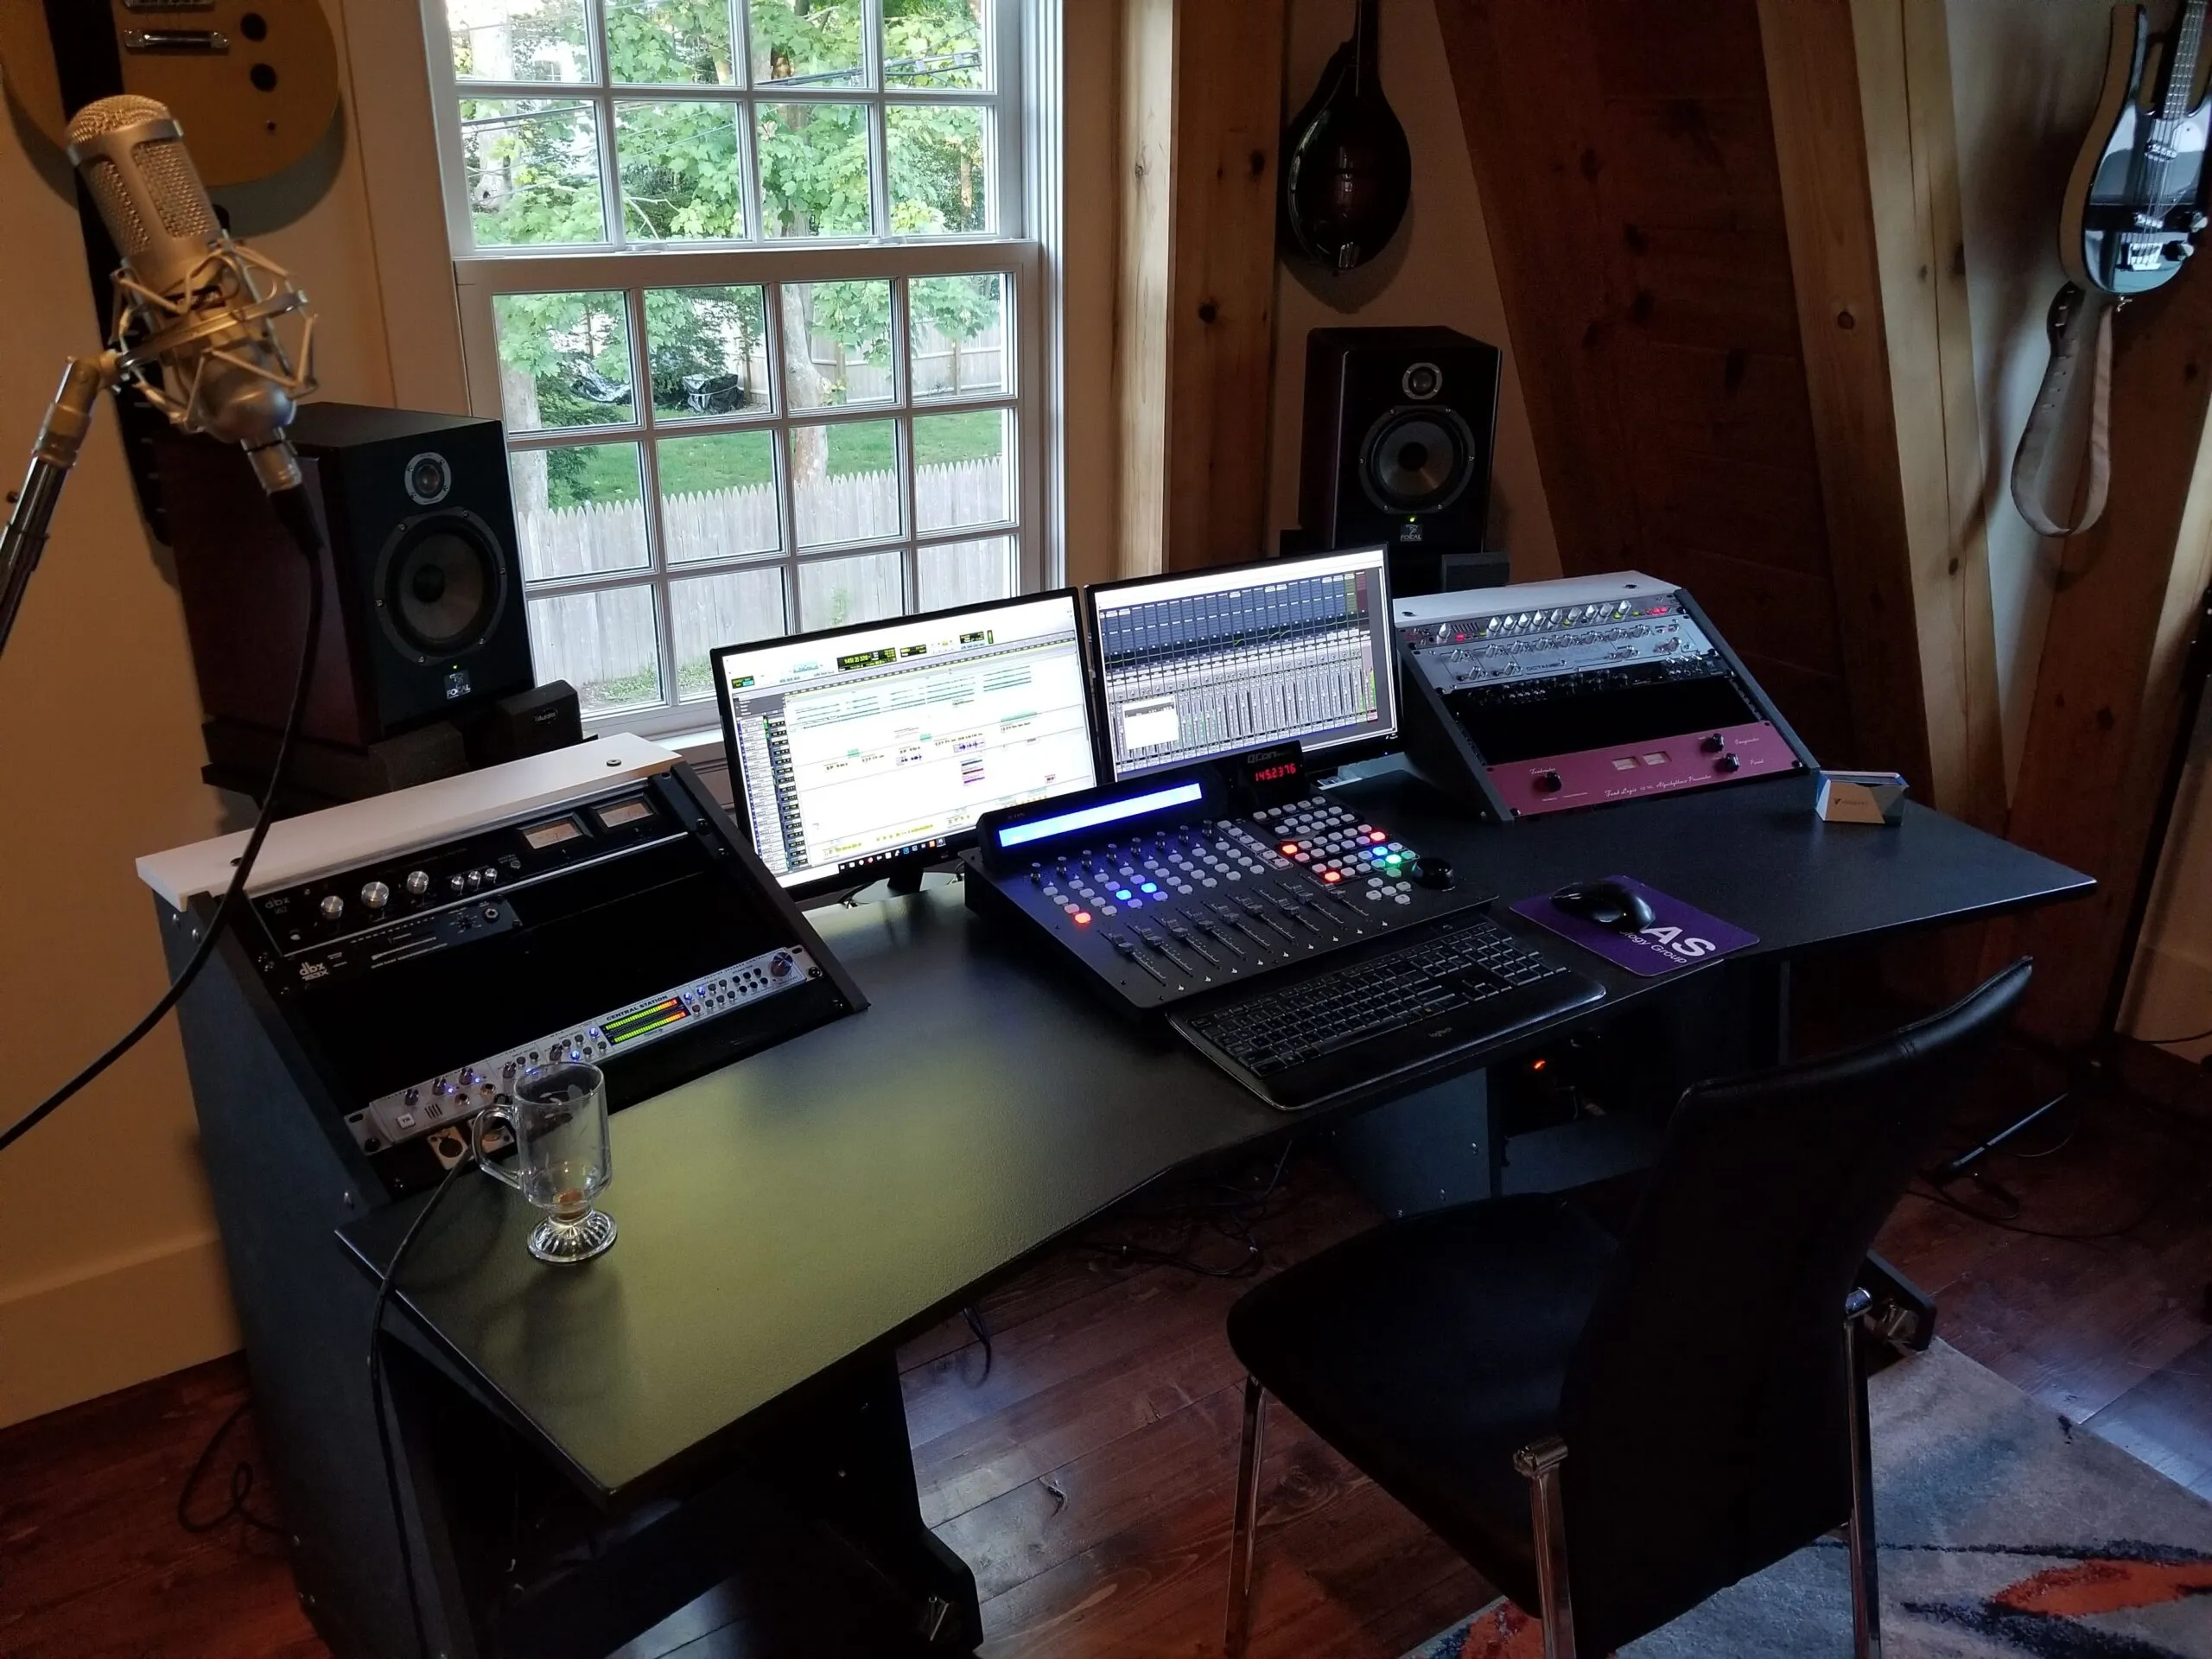
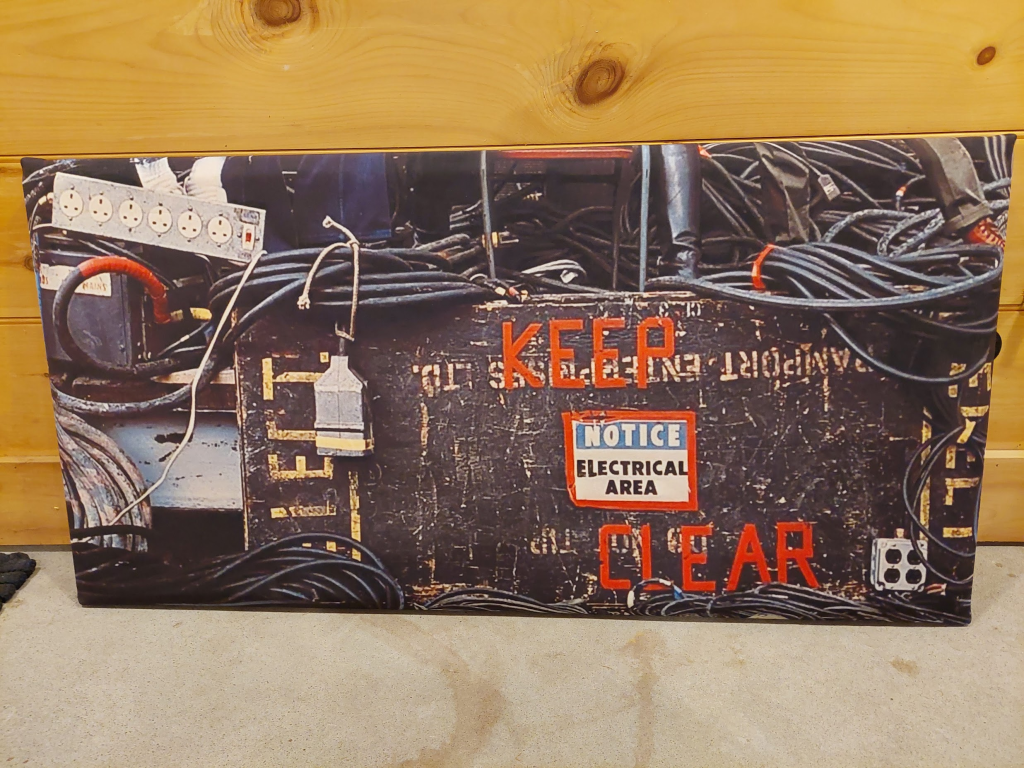
I made this one for low on the wall behind my studio desk where all the messy wires are. I borrowed the iconic photo on the rear of the Who’s Next album.
The key to a polished result is selecting high-quality fabric that allows sound to pass through while showcasing the printed design vividly. I’ve had great luck with 9oz canvas cloth available at most fabric printing services.
Applications Beyond Studios
While acoustic panels are essential for recording studios, their benefits extend to a variety of other settings:
- Living Rooms: Panels can help reduce the “lively” sound often found in rooms with hard surfaces like tile or wood floors.
- Home Offices: If you work remotely or participate in virtual meetings, acoustic panels can help reduce echo and improve speech clarity for both you and your listeners.
- Restaurants and Cafes: Acoustic panels can help create a more comfortable environment for patrons by reducing noise levels.
- Classrooms: Panels can improve focus and reduce auditory distractions for students.
Examples in Action
I’ve installed panels in my own recording studio and in living spaces, and the results have been transformative. In the studio, the panels create a controlled soundscape that’s perfect for mixing and recording. In living spaces, they subtly improve the acoustic environment without drawing attention to themselves—unless, of course, someone admires the printed artwork.
Tips for Success
- Start Small: If you’re new to DIY projects, begin with one or two panels to refine your technique before tackling a larger batch.
- Choose Materials Wisely: The absorptive material and fabric covering are critical to the panel’s performance and appearance, so invest in high-quality options.
- Plan Your Placement: Panels are most effective when placed at reflection points, so take the time to analyze your room’s acoustics.
- Mix Function and Aesthetics: Don’t be afraid to experiment with different fabrics and designs to create panels that look as good as they sound.
Final Thoughts
Building your own acoustic panels is a rewarding project that combines functionality with creativity. By reducing reflections and reverb, you can dramatically improve the sound quality of any space. And with the option to customize the panels with your own artwork, you can make them a true reflection of your style. Whether you’re outfitting a professional studio or simply creating a better environment for listening to music, acoustic panels are an investment in both sound and aesthetics.